
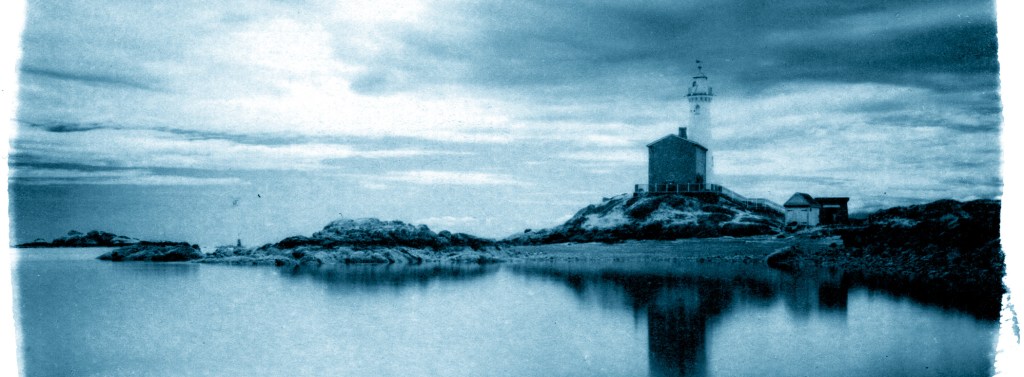
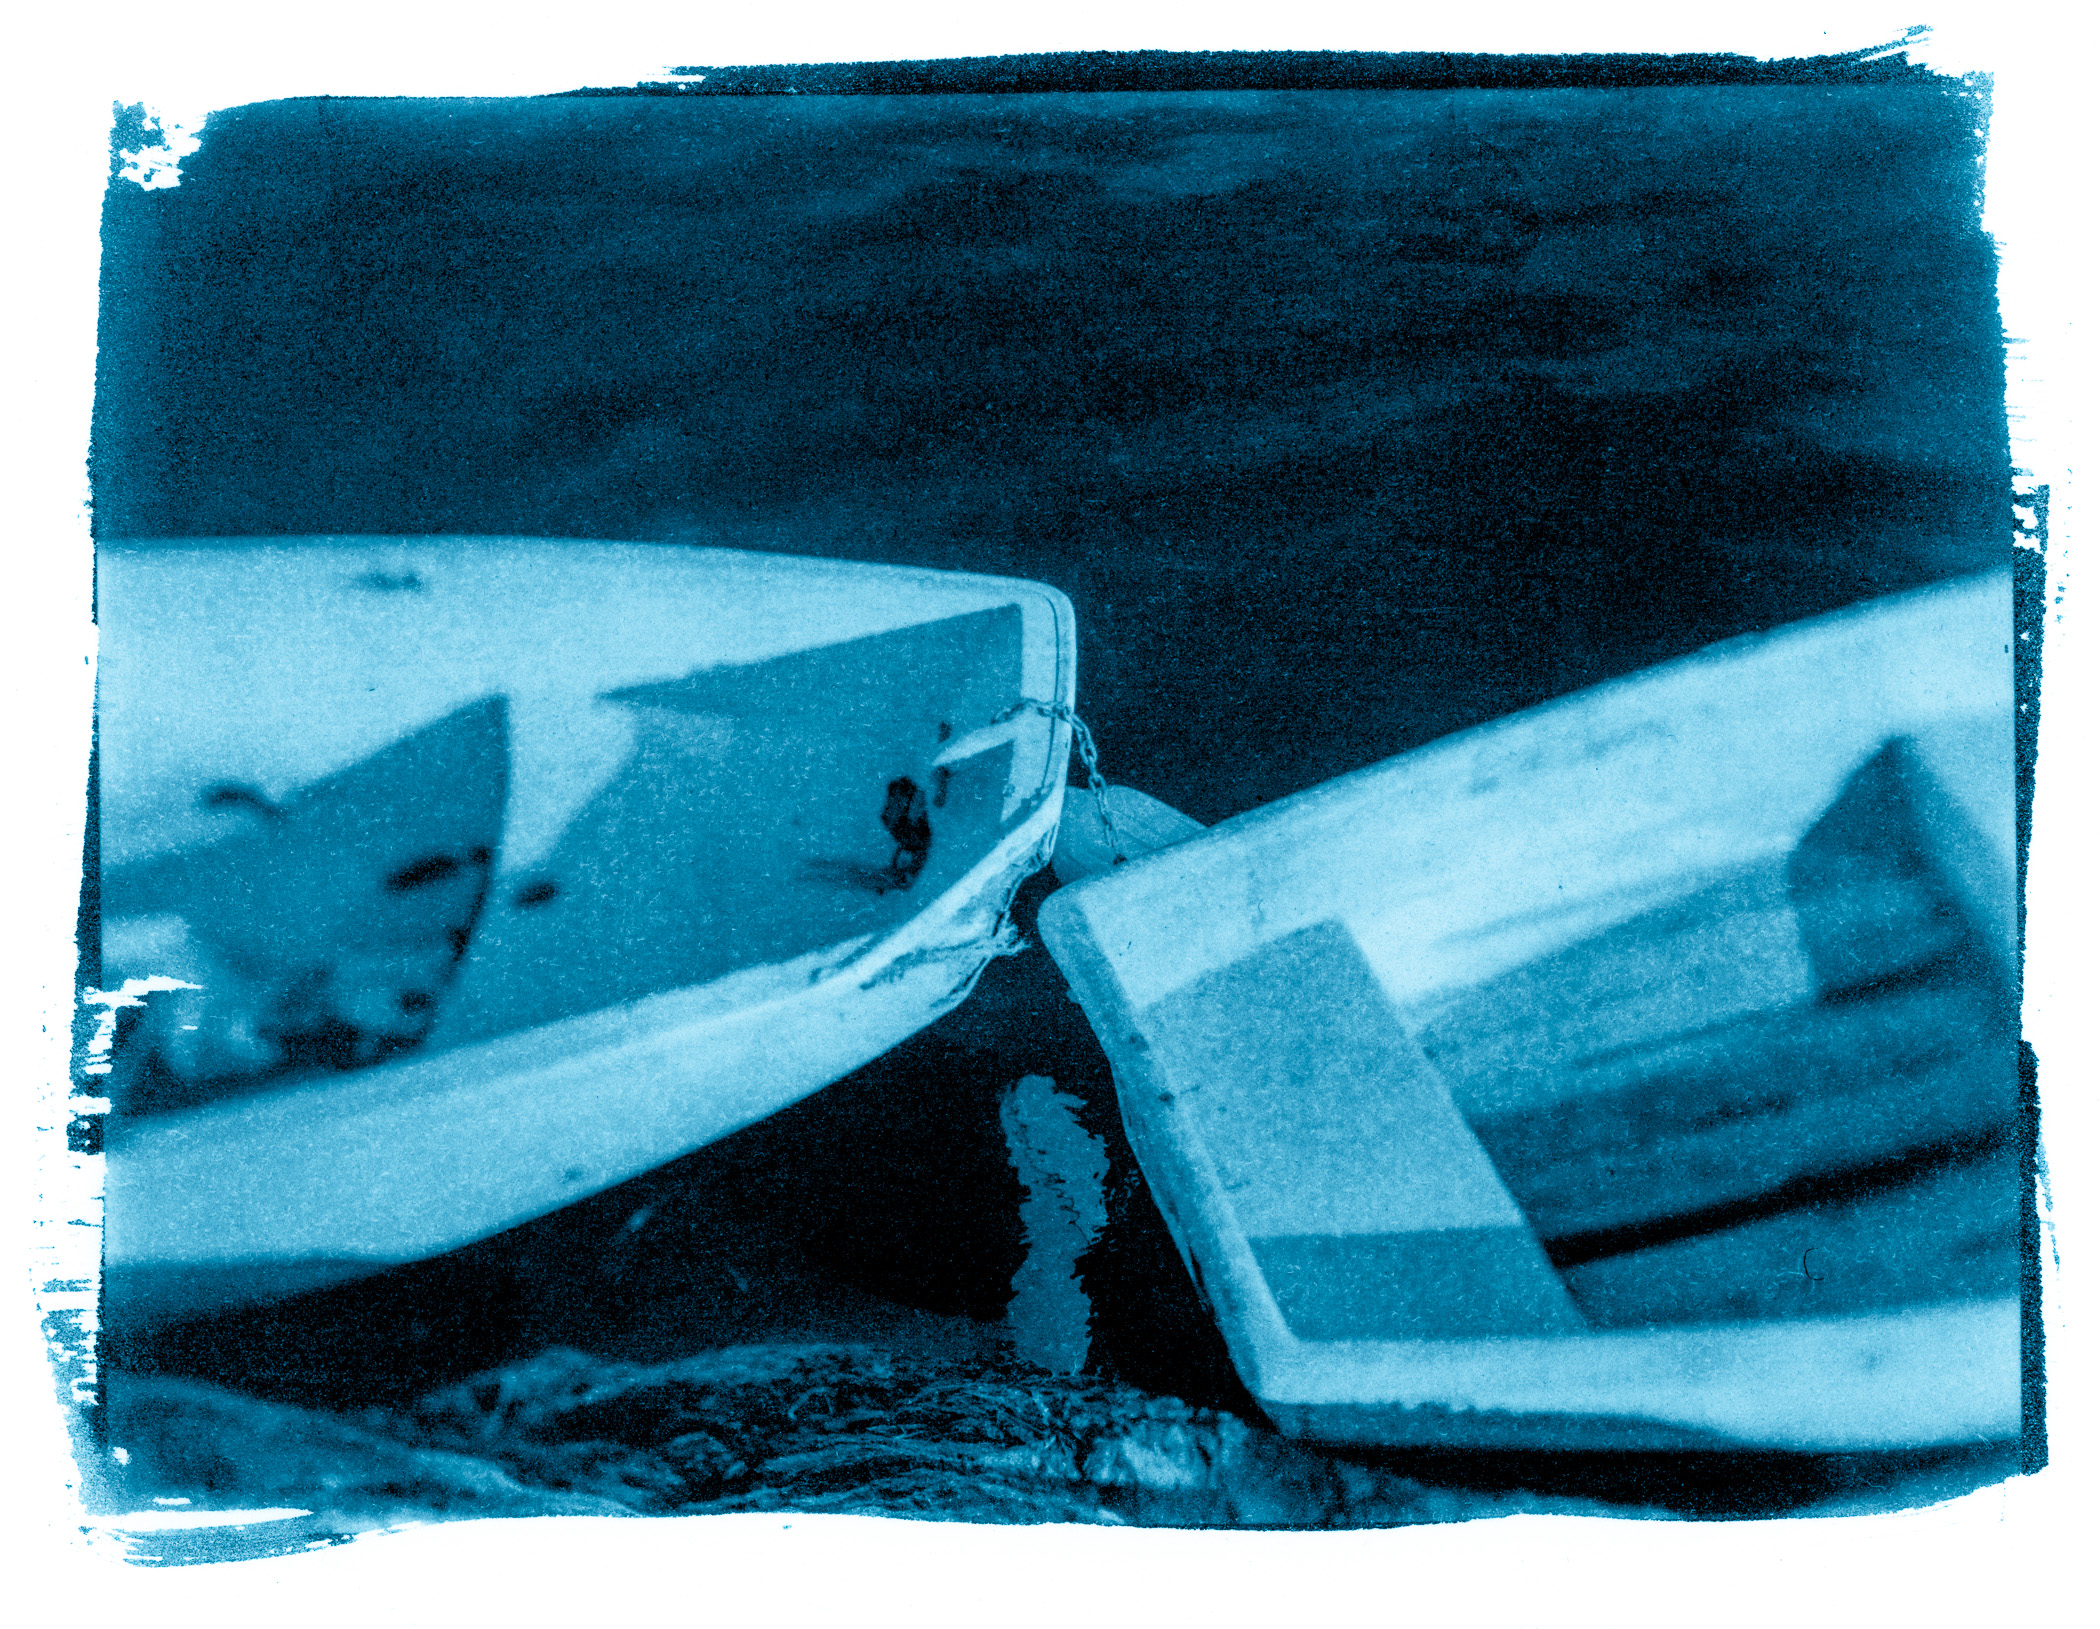
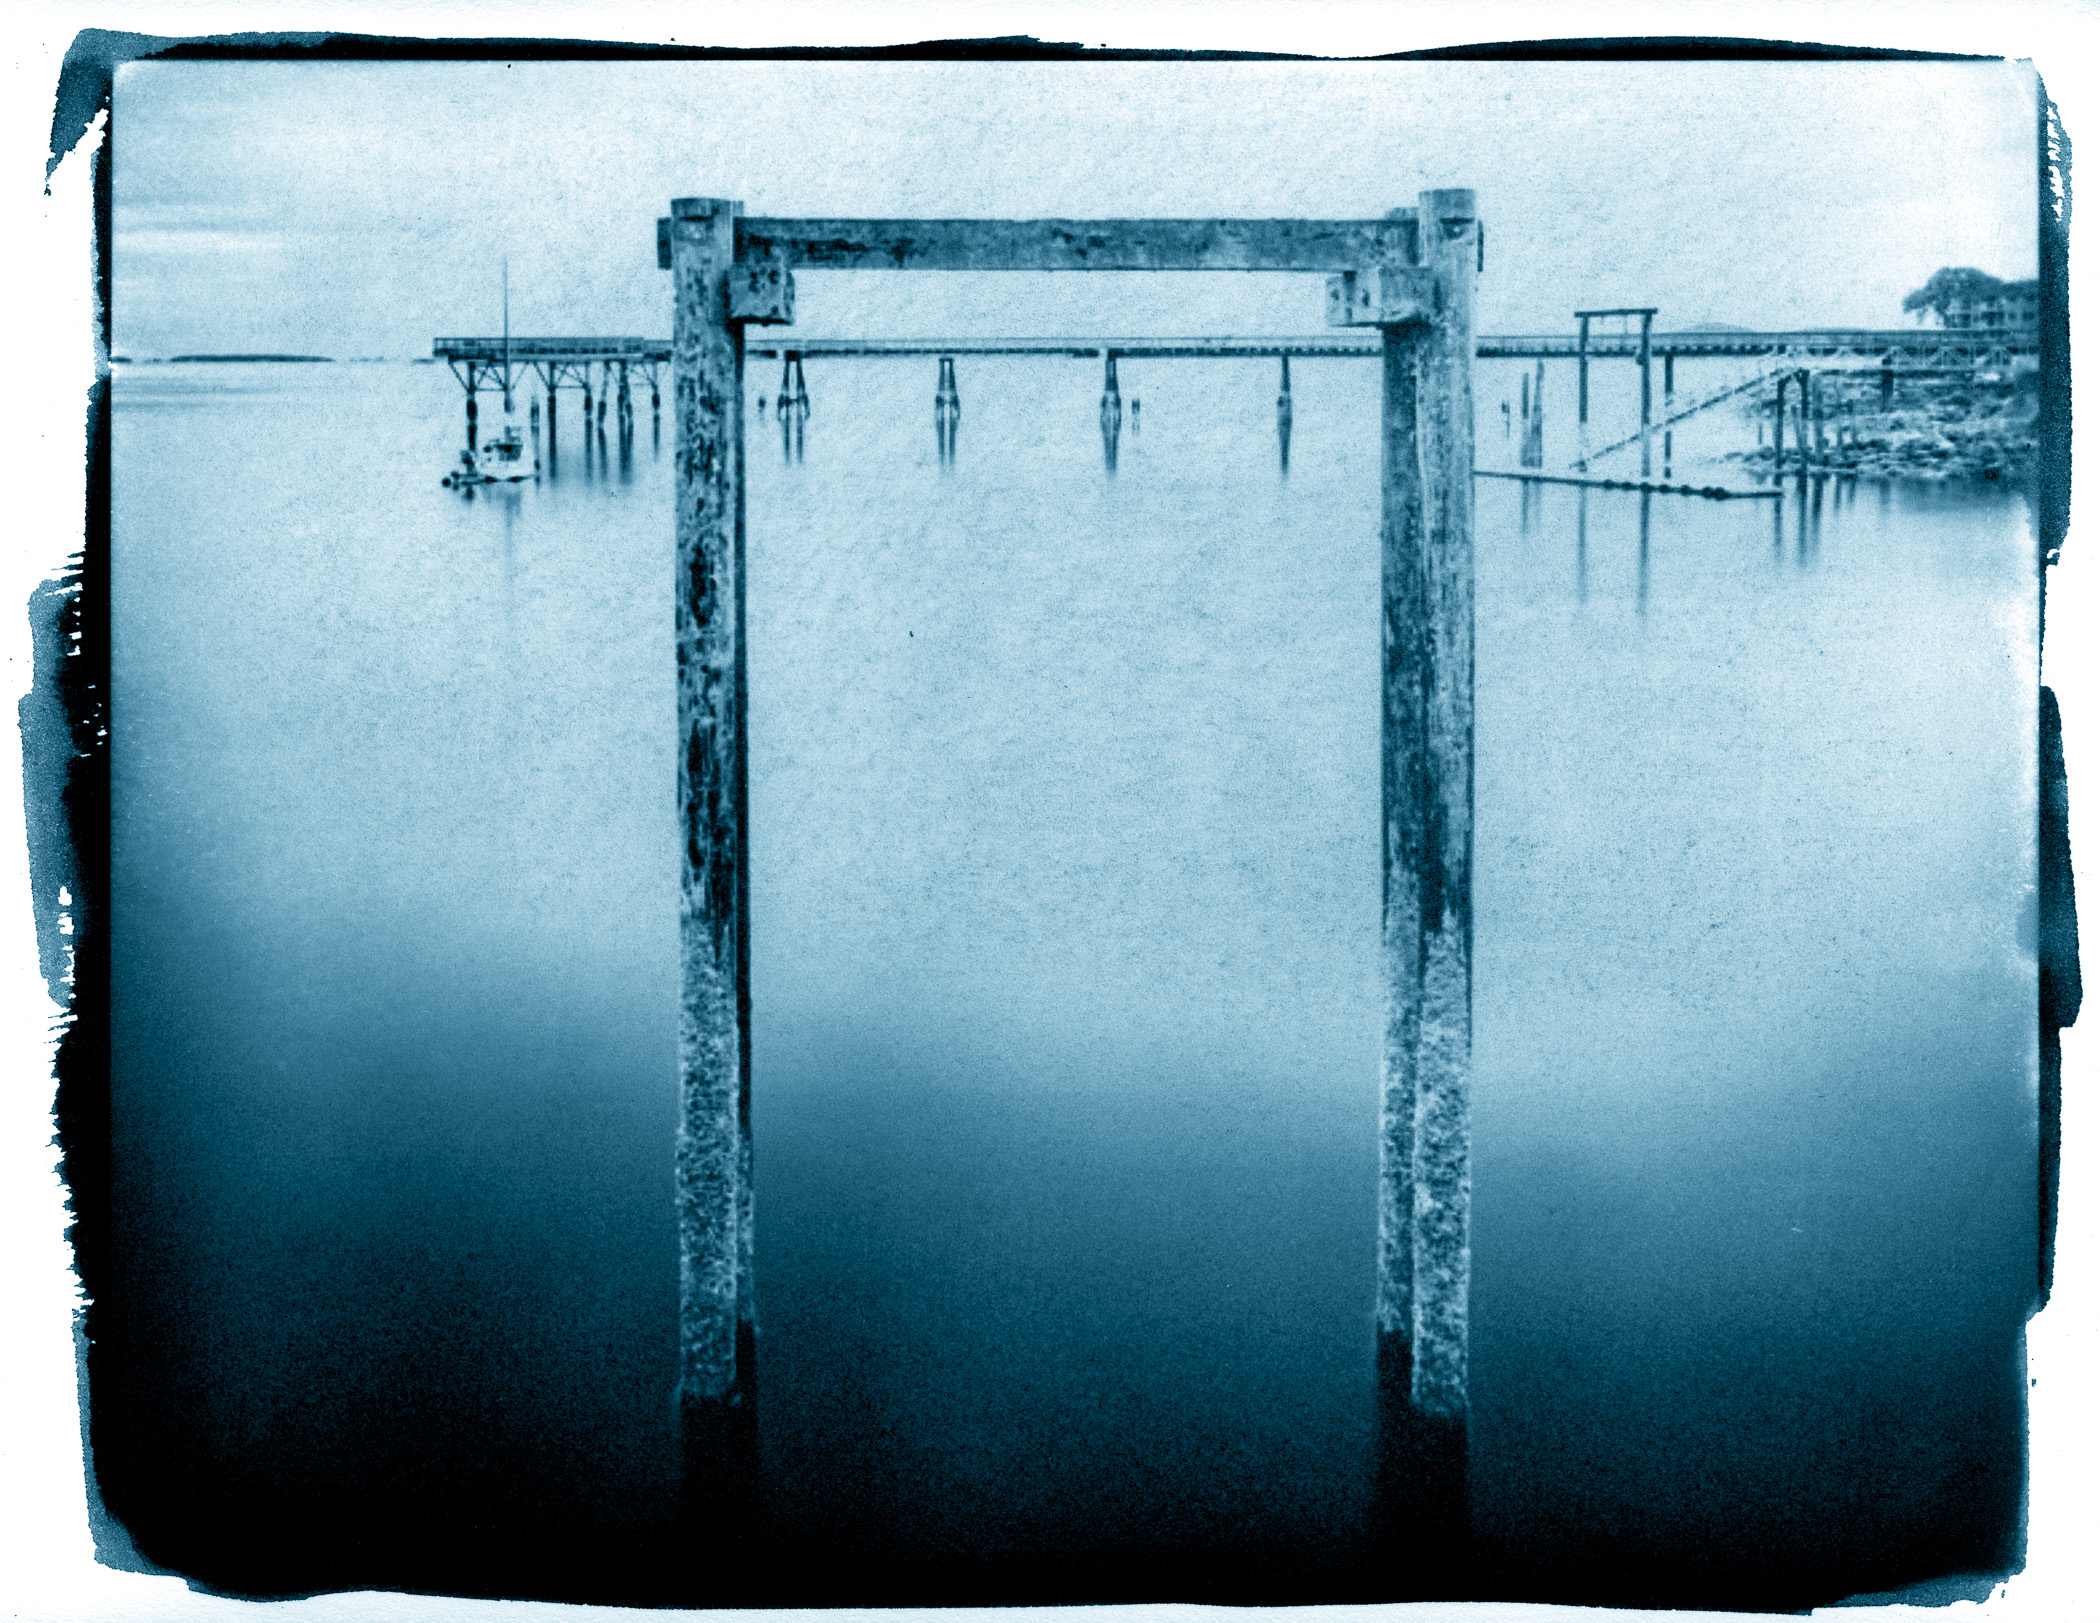
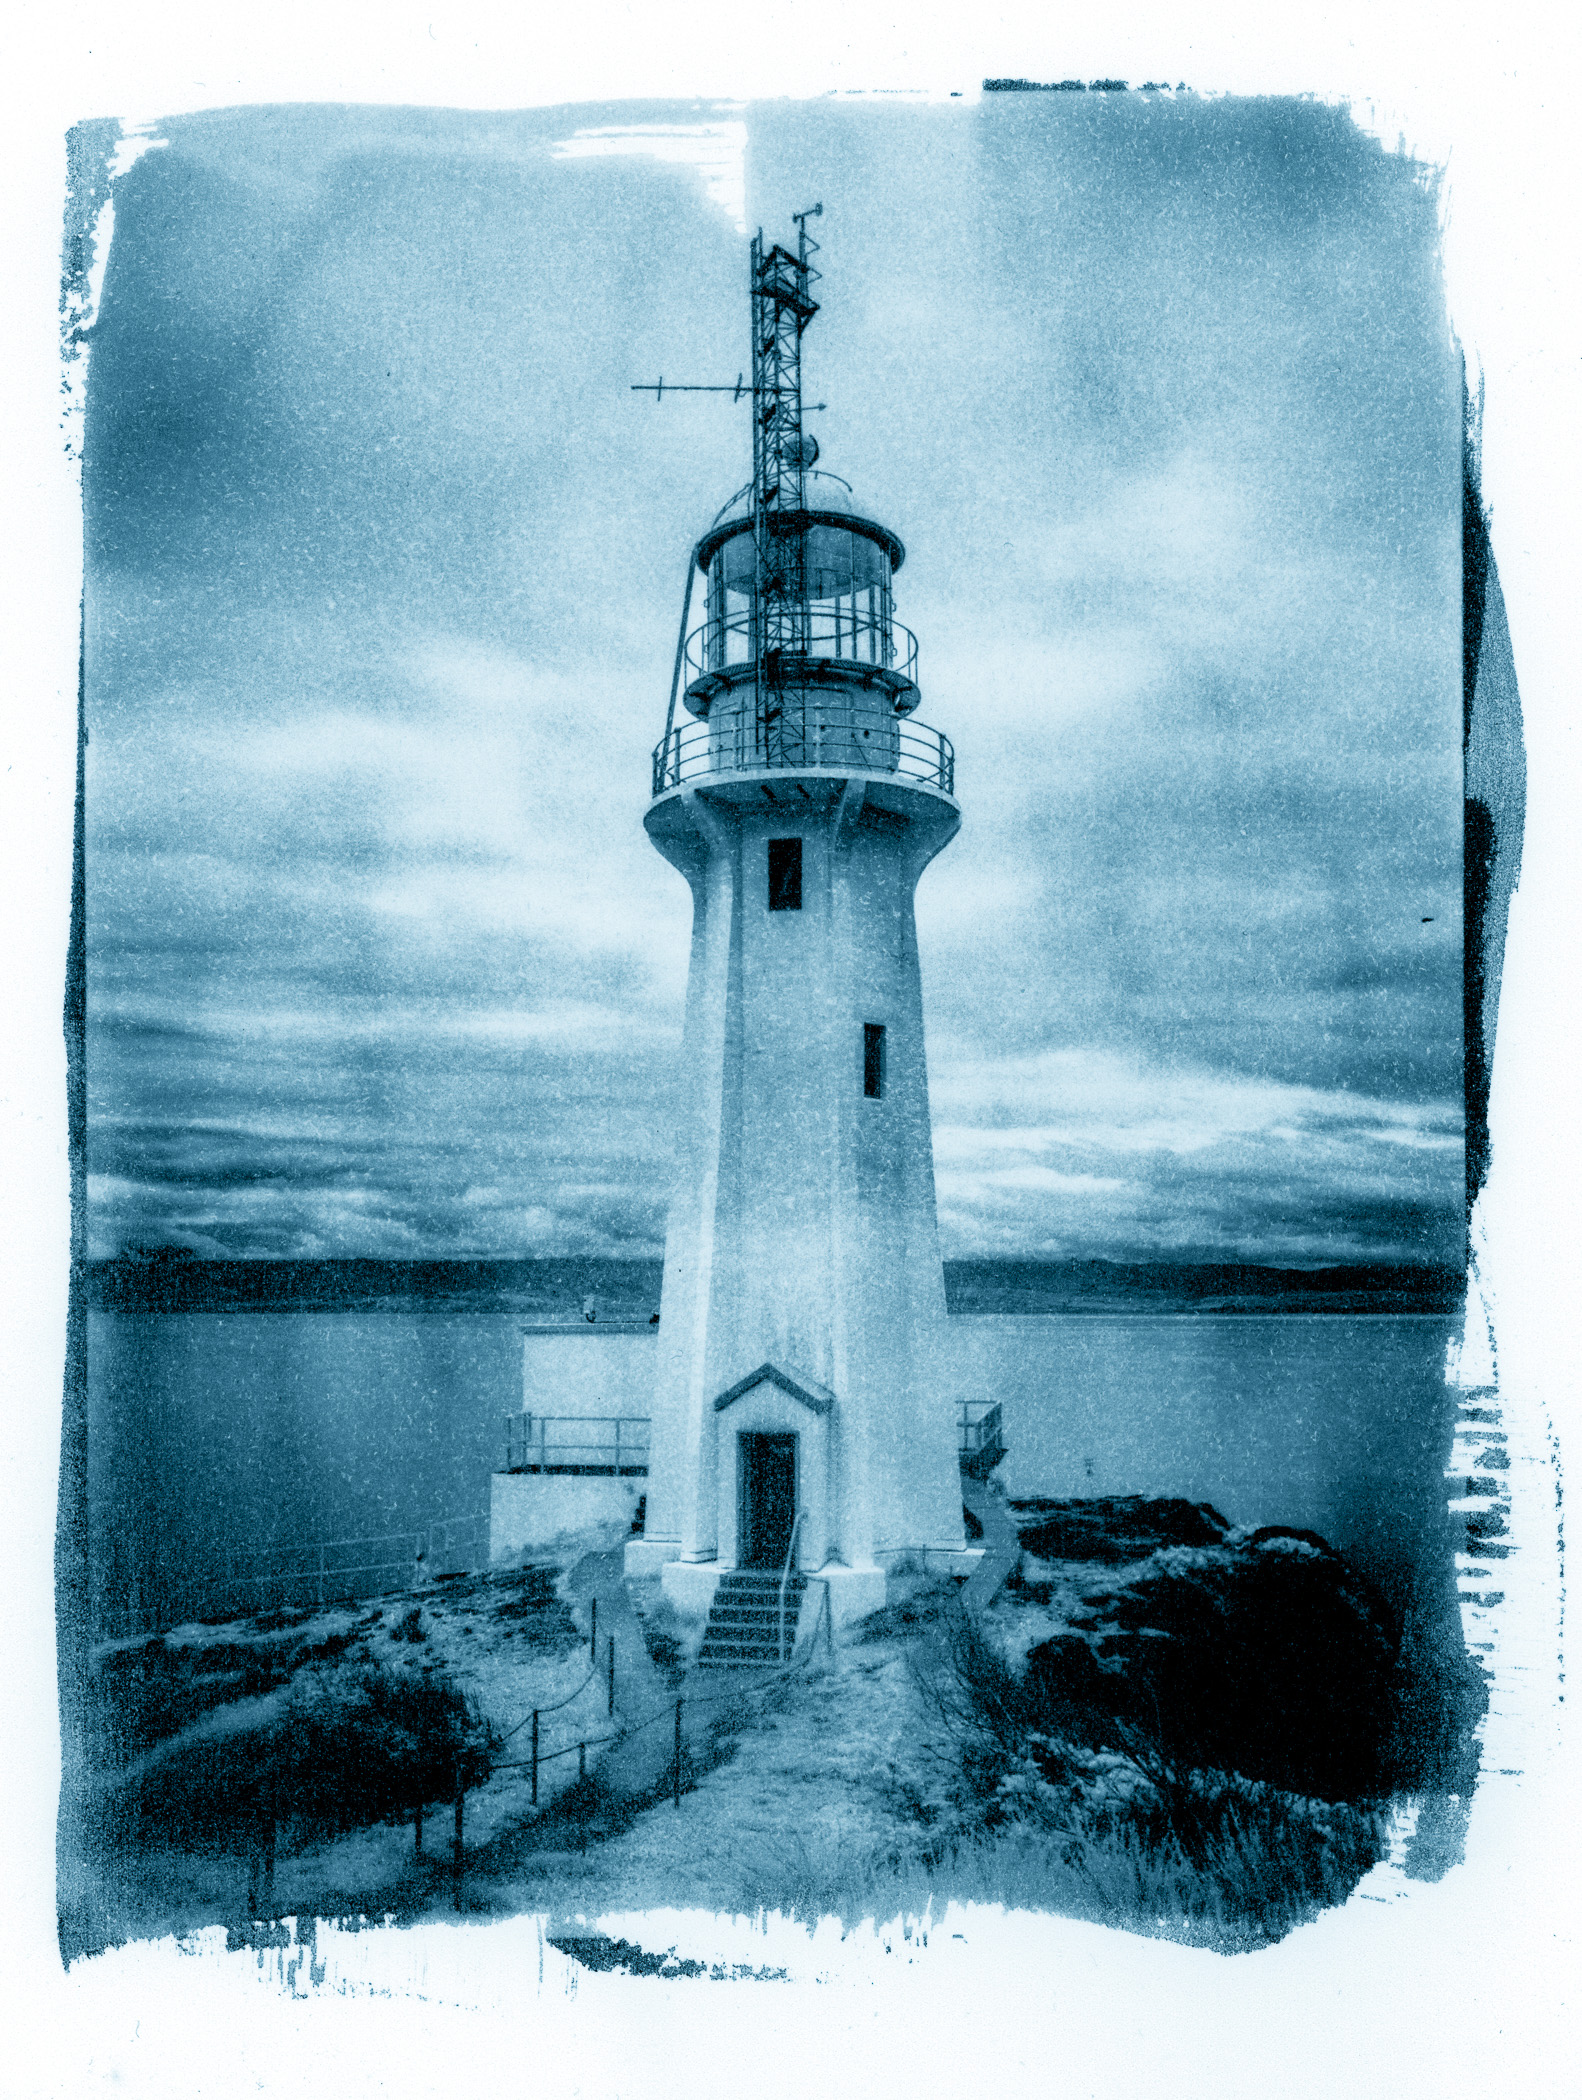
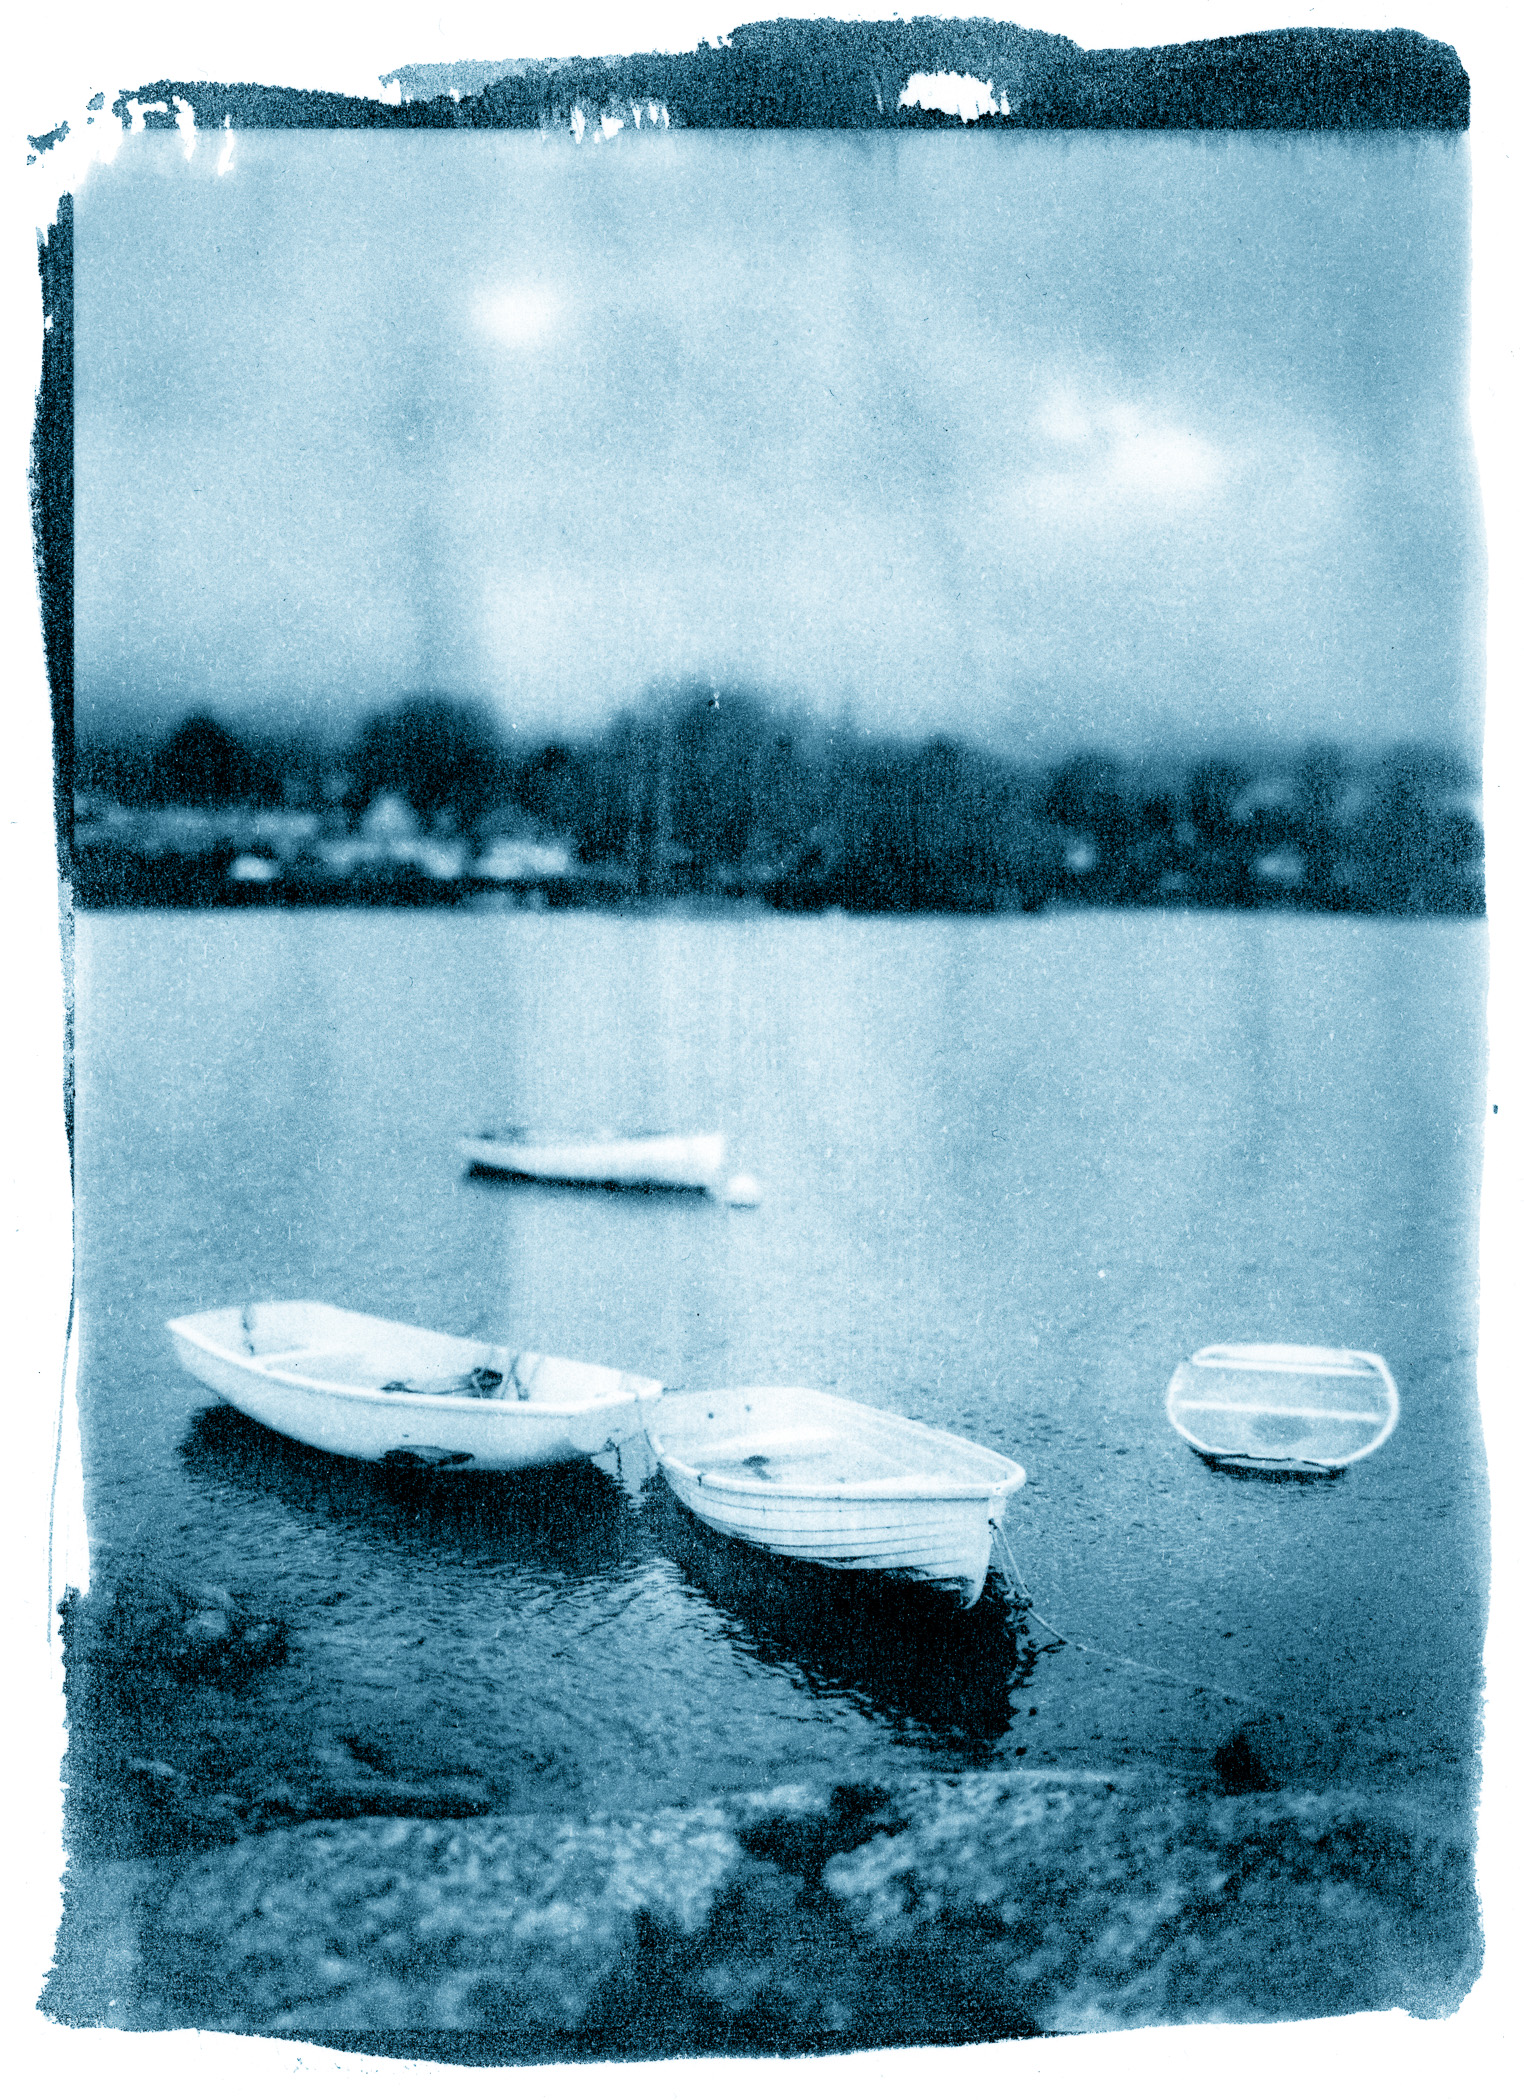
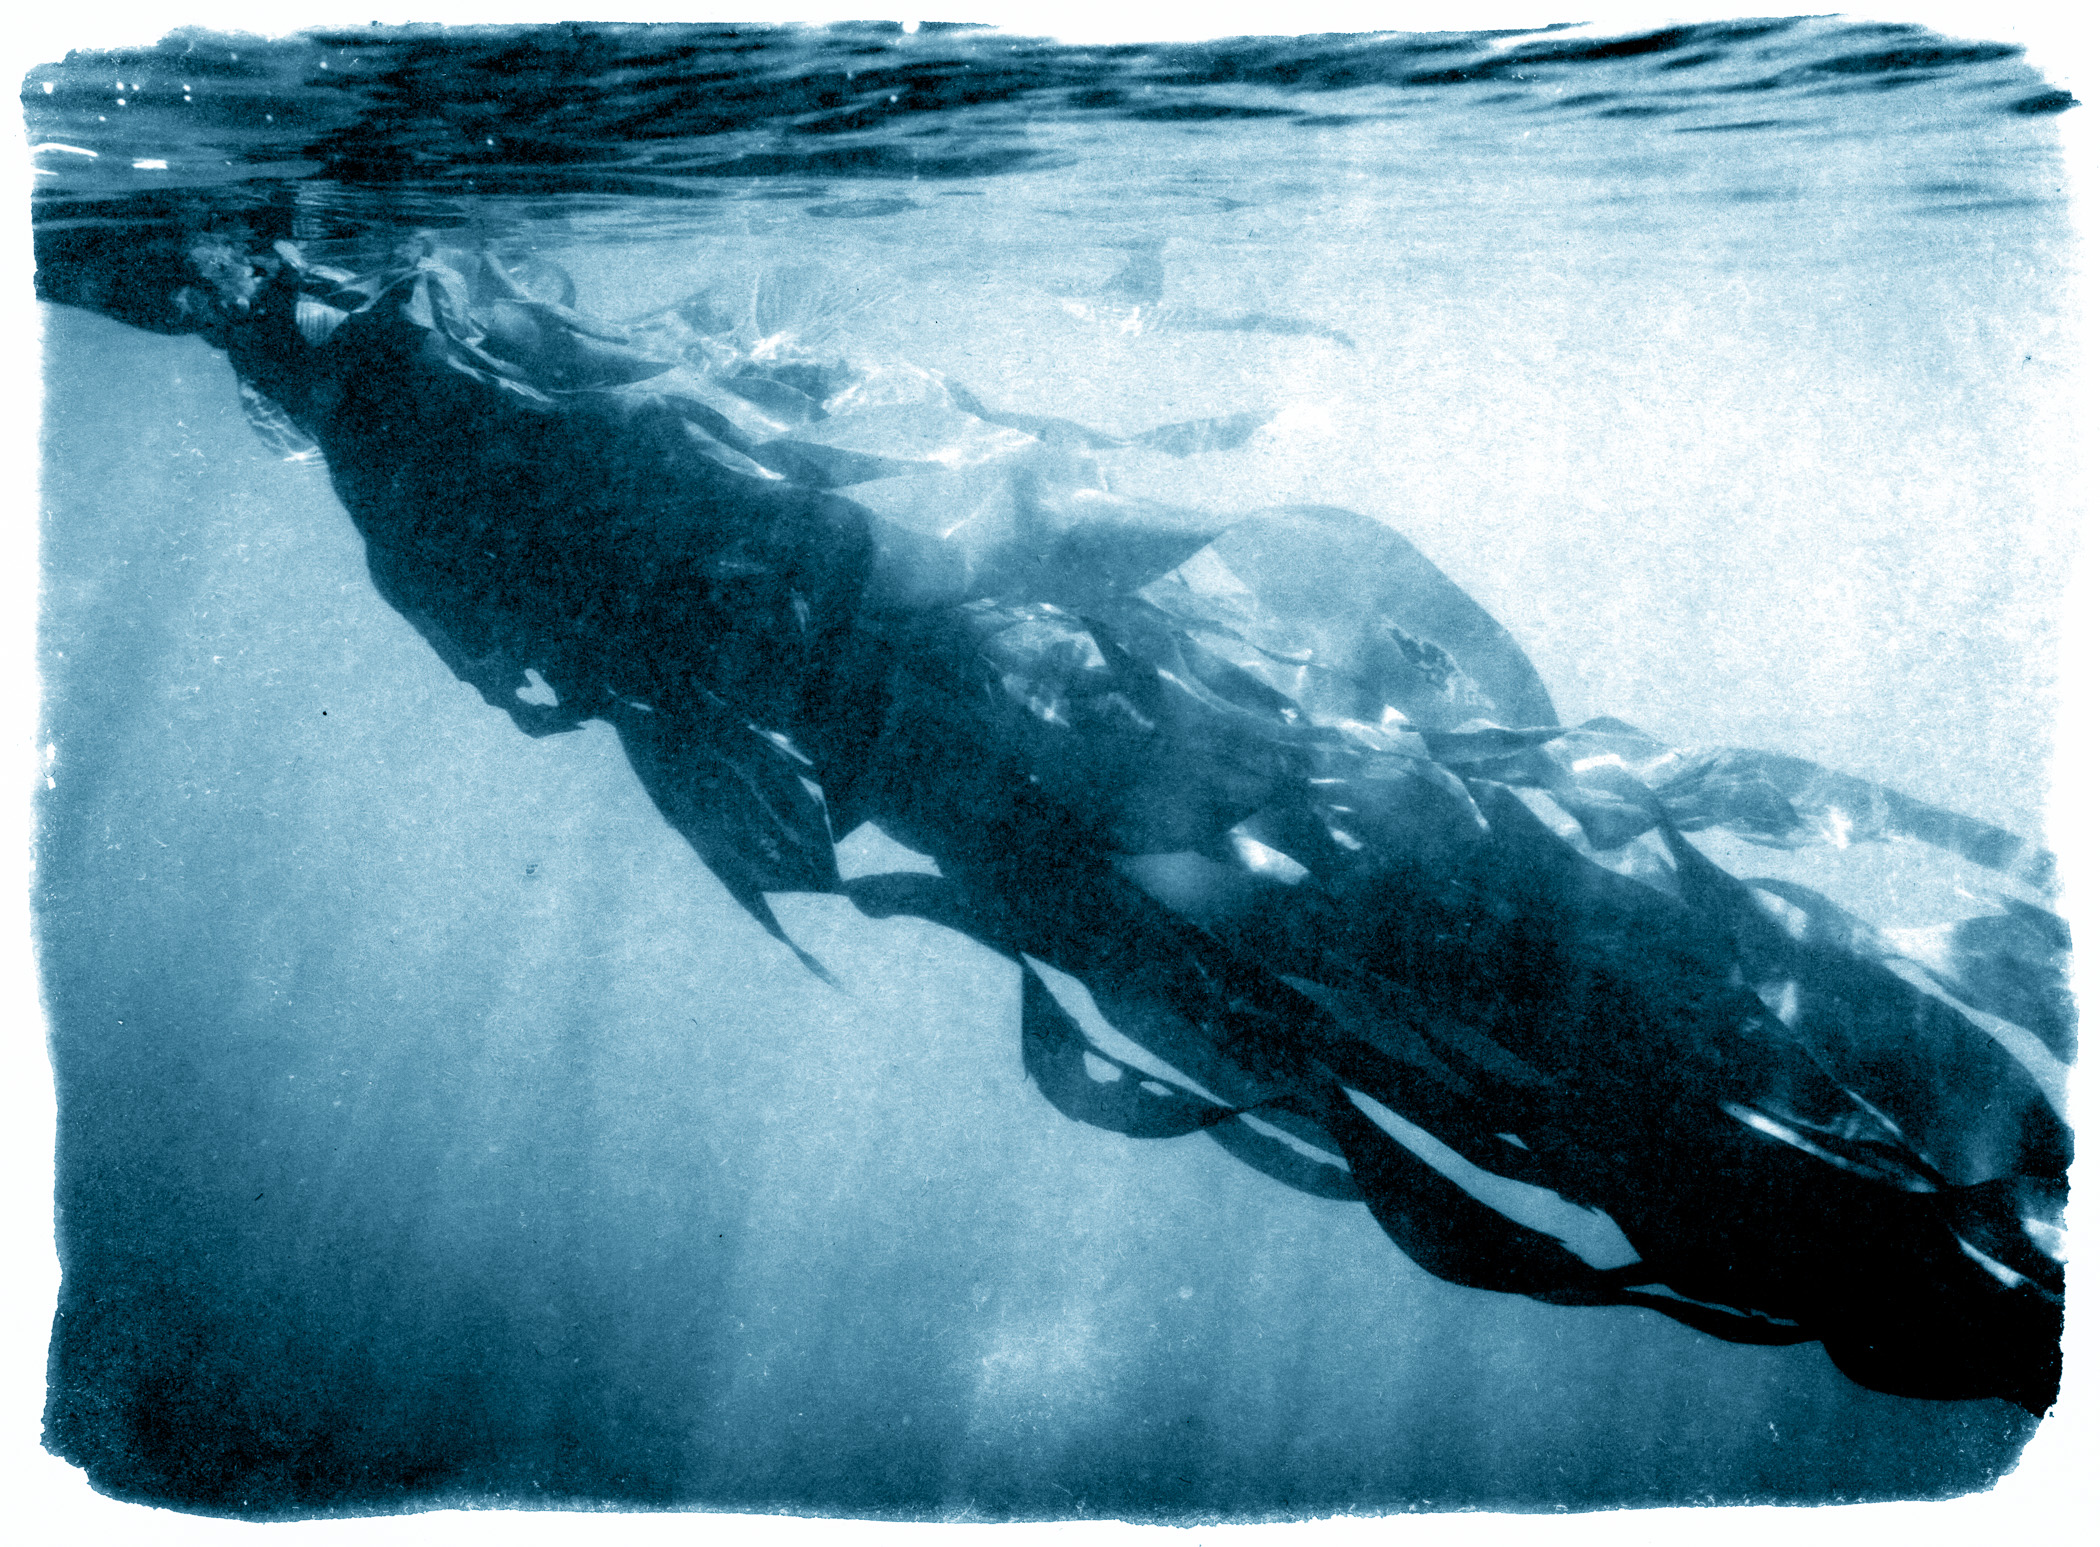
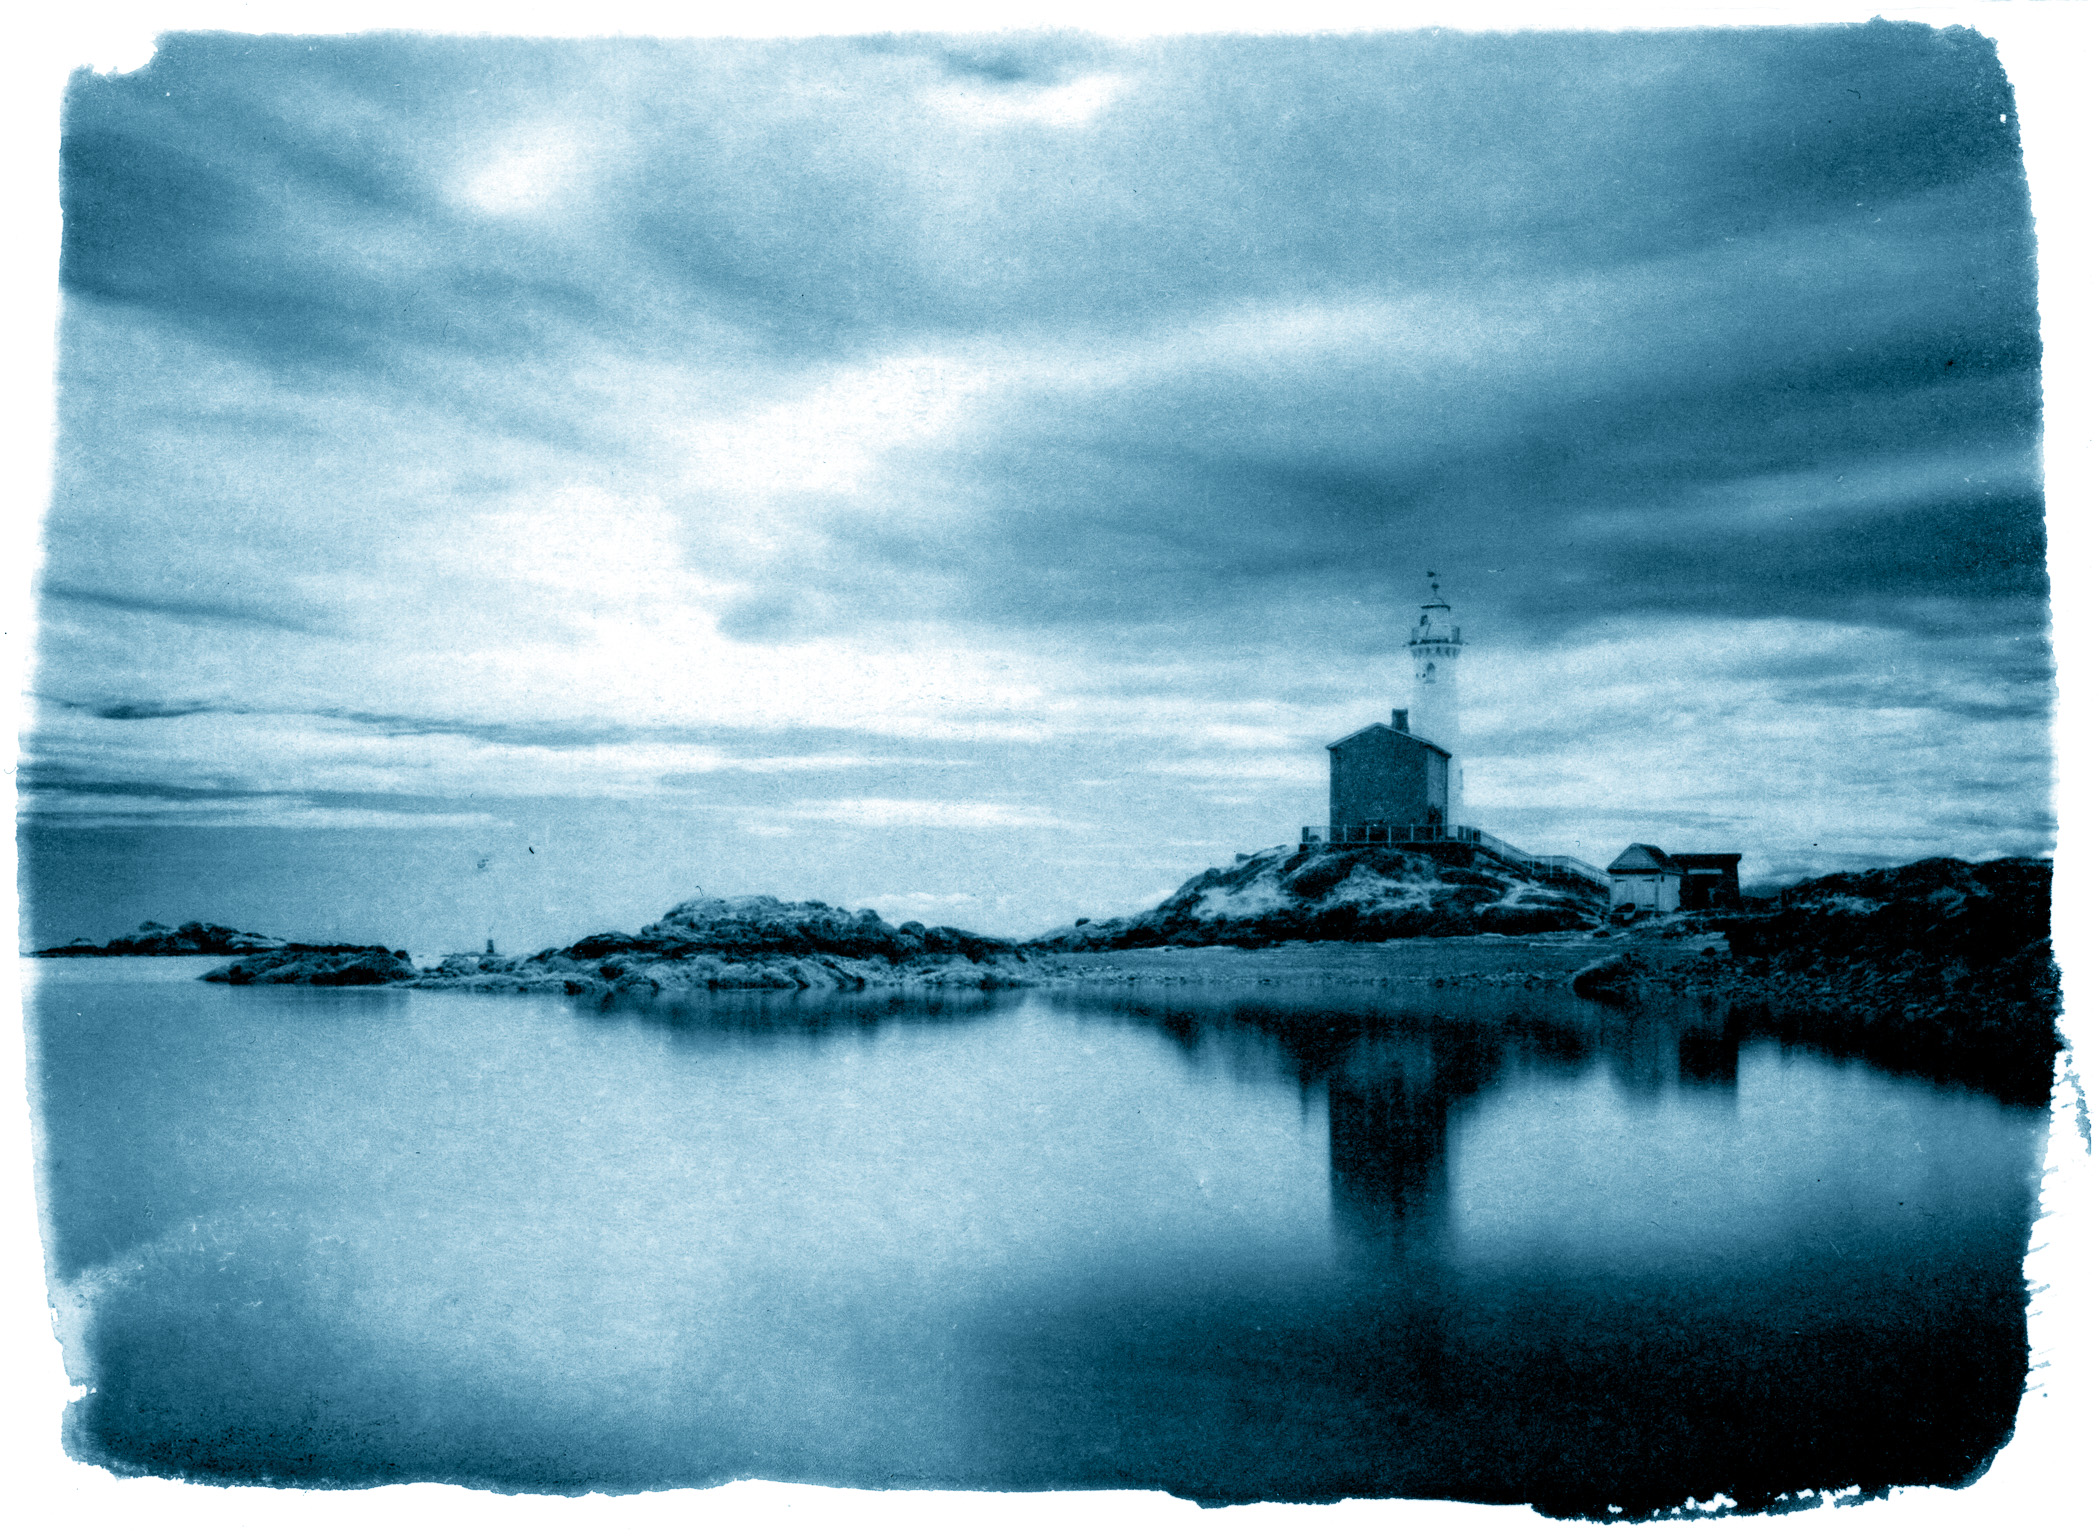
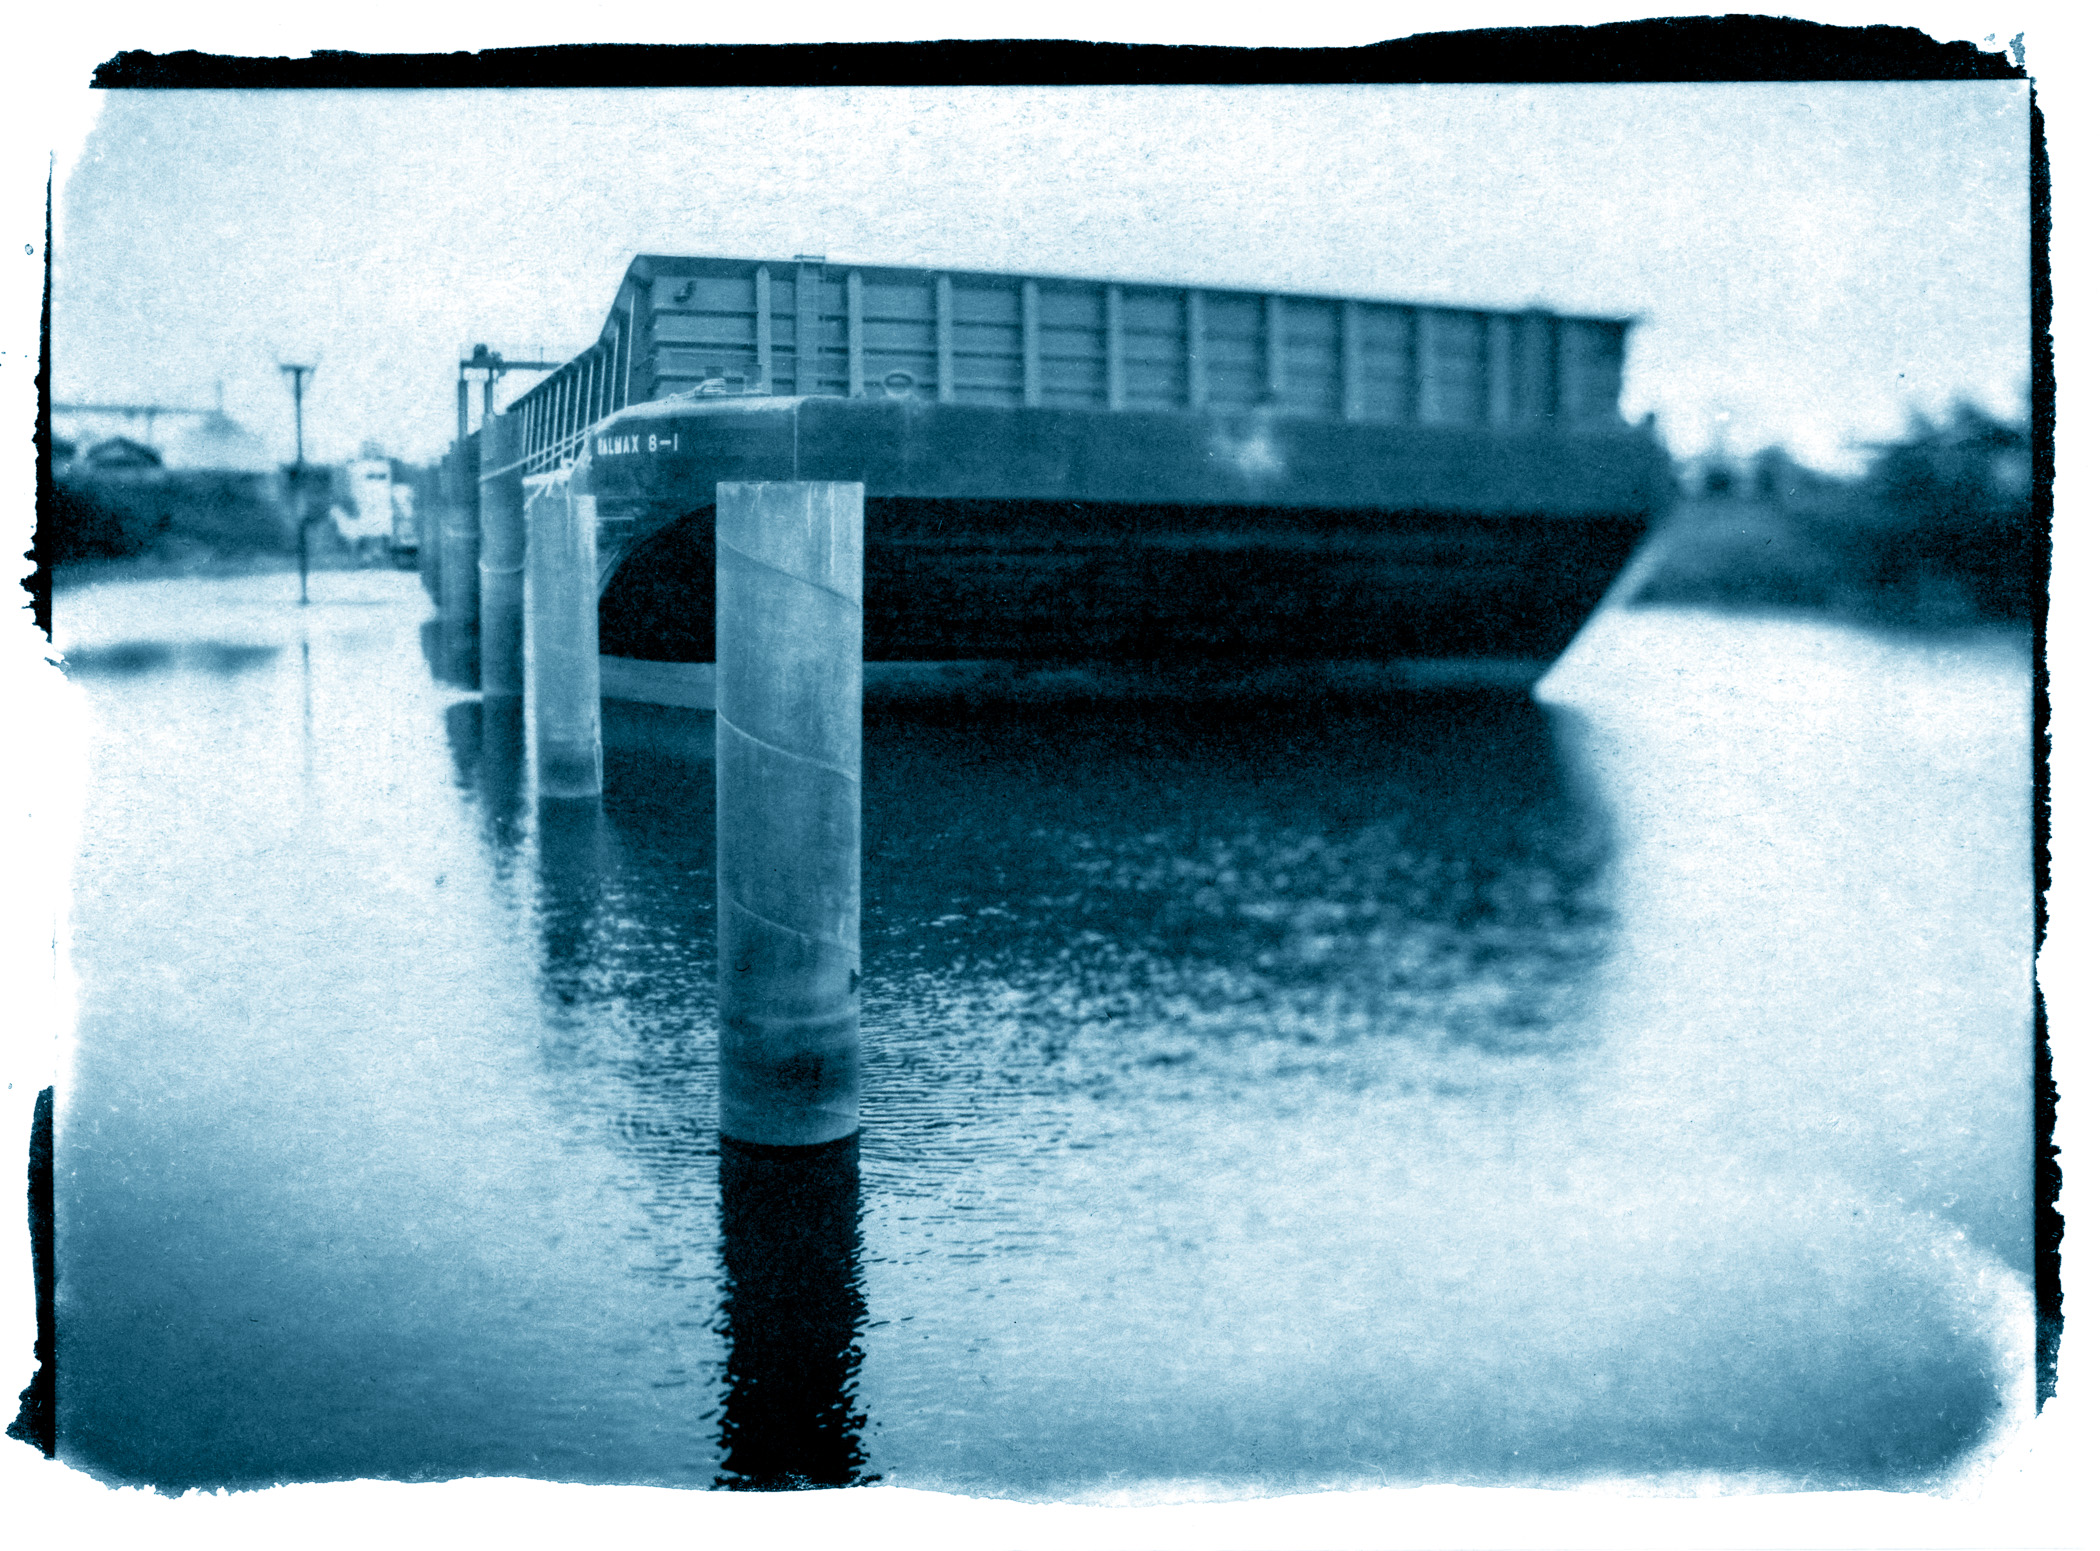
Hand-made, imperfect satisfaction
In early December, I started to experiment with cyanotypes. Prior to this, I created faux, digital cyanotypes. However, they weren’t very satisfying, so I did some research, bought some supplies and started to experiment.
There is a lot of information available about how to make cyanotypes, including how to produce negatives from digital photos, so I won’t repeat what others have already written and demonstrated. I will outline my process and mention the extreme satisfaction in producing prints that are so clearly not digital, not perfect and always unique.
My process does start with a digital image, which is printed to transparency film on my Epson printer. There are a few steps to create a print-ready negative image, including applying a highly-modified tone curve.
A second step is to coat a piece of watercolour paper with the light-sensitive chemistry that covers the same size as the negative. Since this is a contact print, the coated area and the negative are always the same size.
Once dry, the paper and negative are sandwiched together and exposed to UV light. For consistent (as much as that is possible) results, I am using a UV exposure unit, instead of the sun.
After exposure is complete, the print is developed in water and left to dry. The print is fully developed after 24 hours.
This is a very simplified description of the process. If you are interested in making cyanotypes, the best resource that I found is the book, Cyanotype: The Blueprint in Contemporary Practice, by Christina Z. Anderson. More than any other resource, YouTube video or blog post, this book provides so much critical information.
In any case, I hope that you enjoy viewing the blue prints that I have been making. I’m certain there will be more in my future.
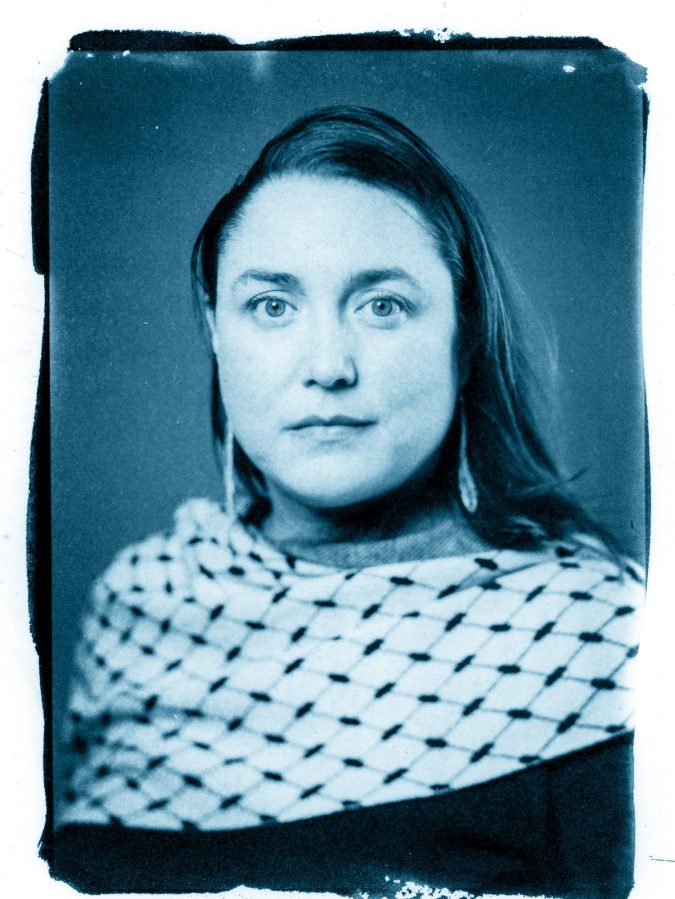
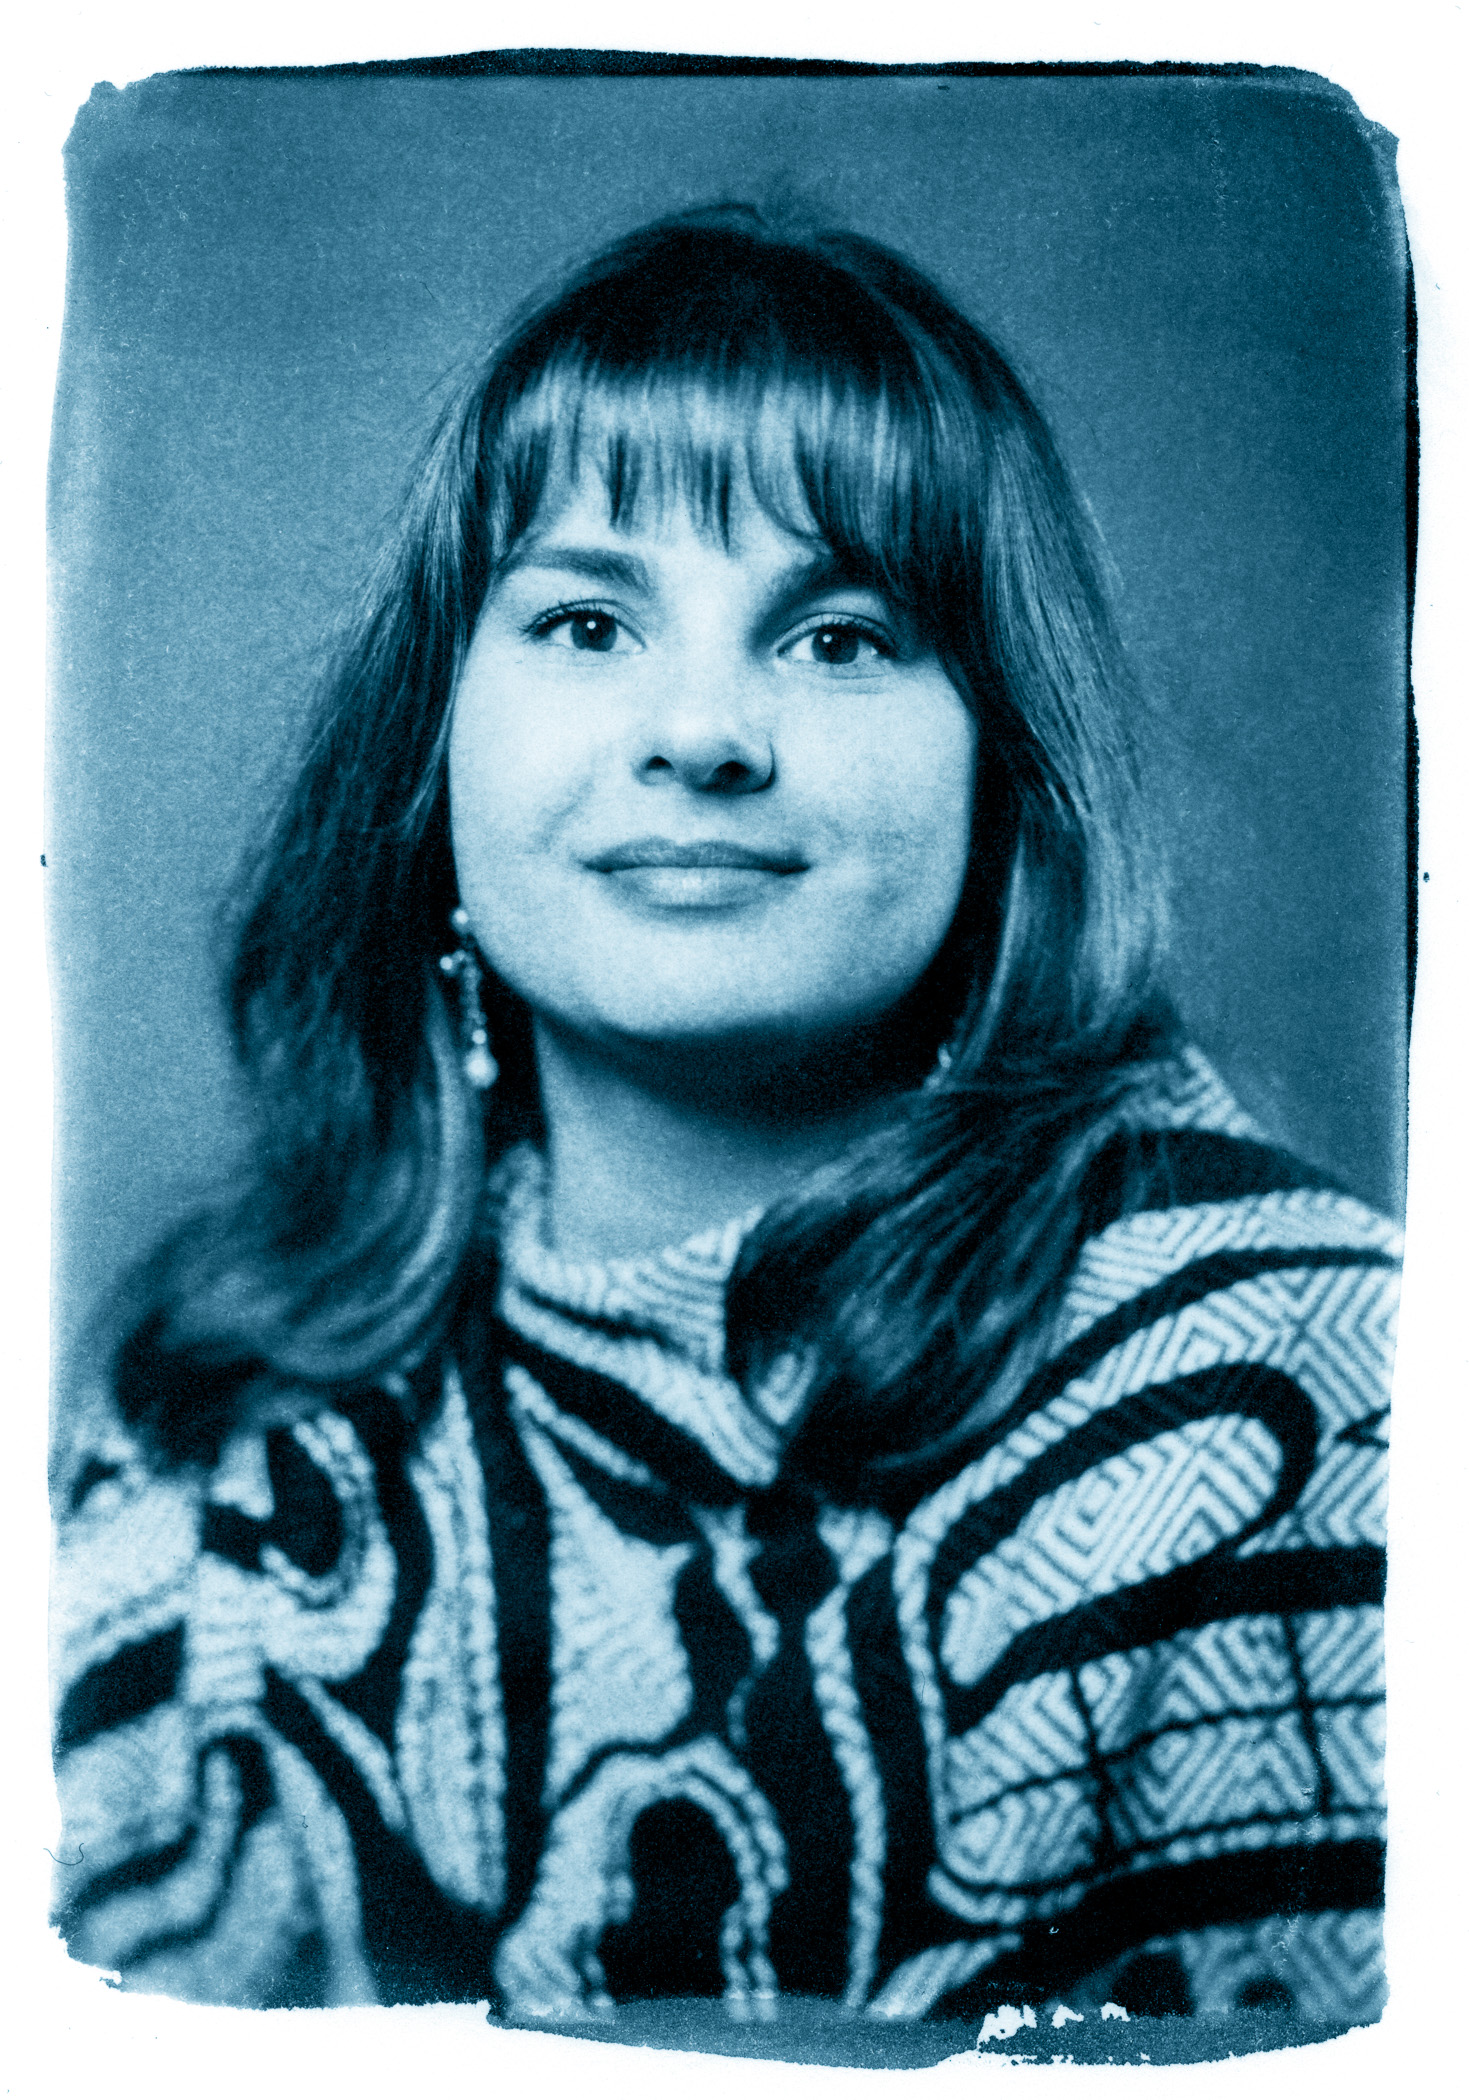
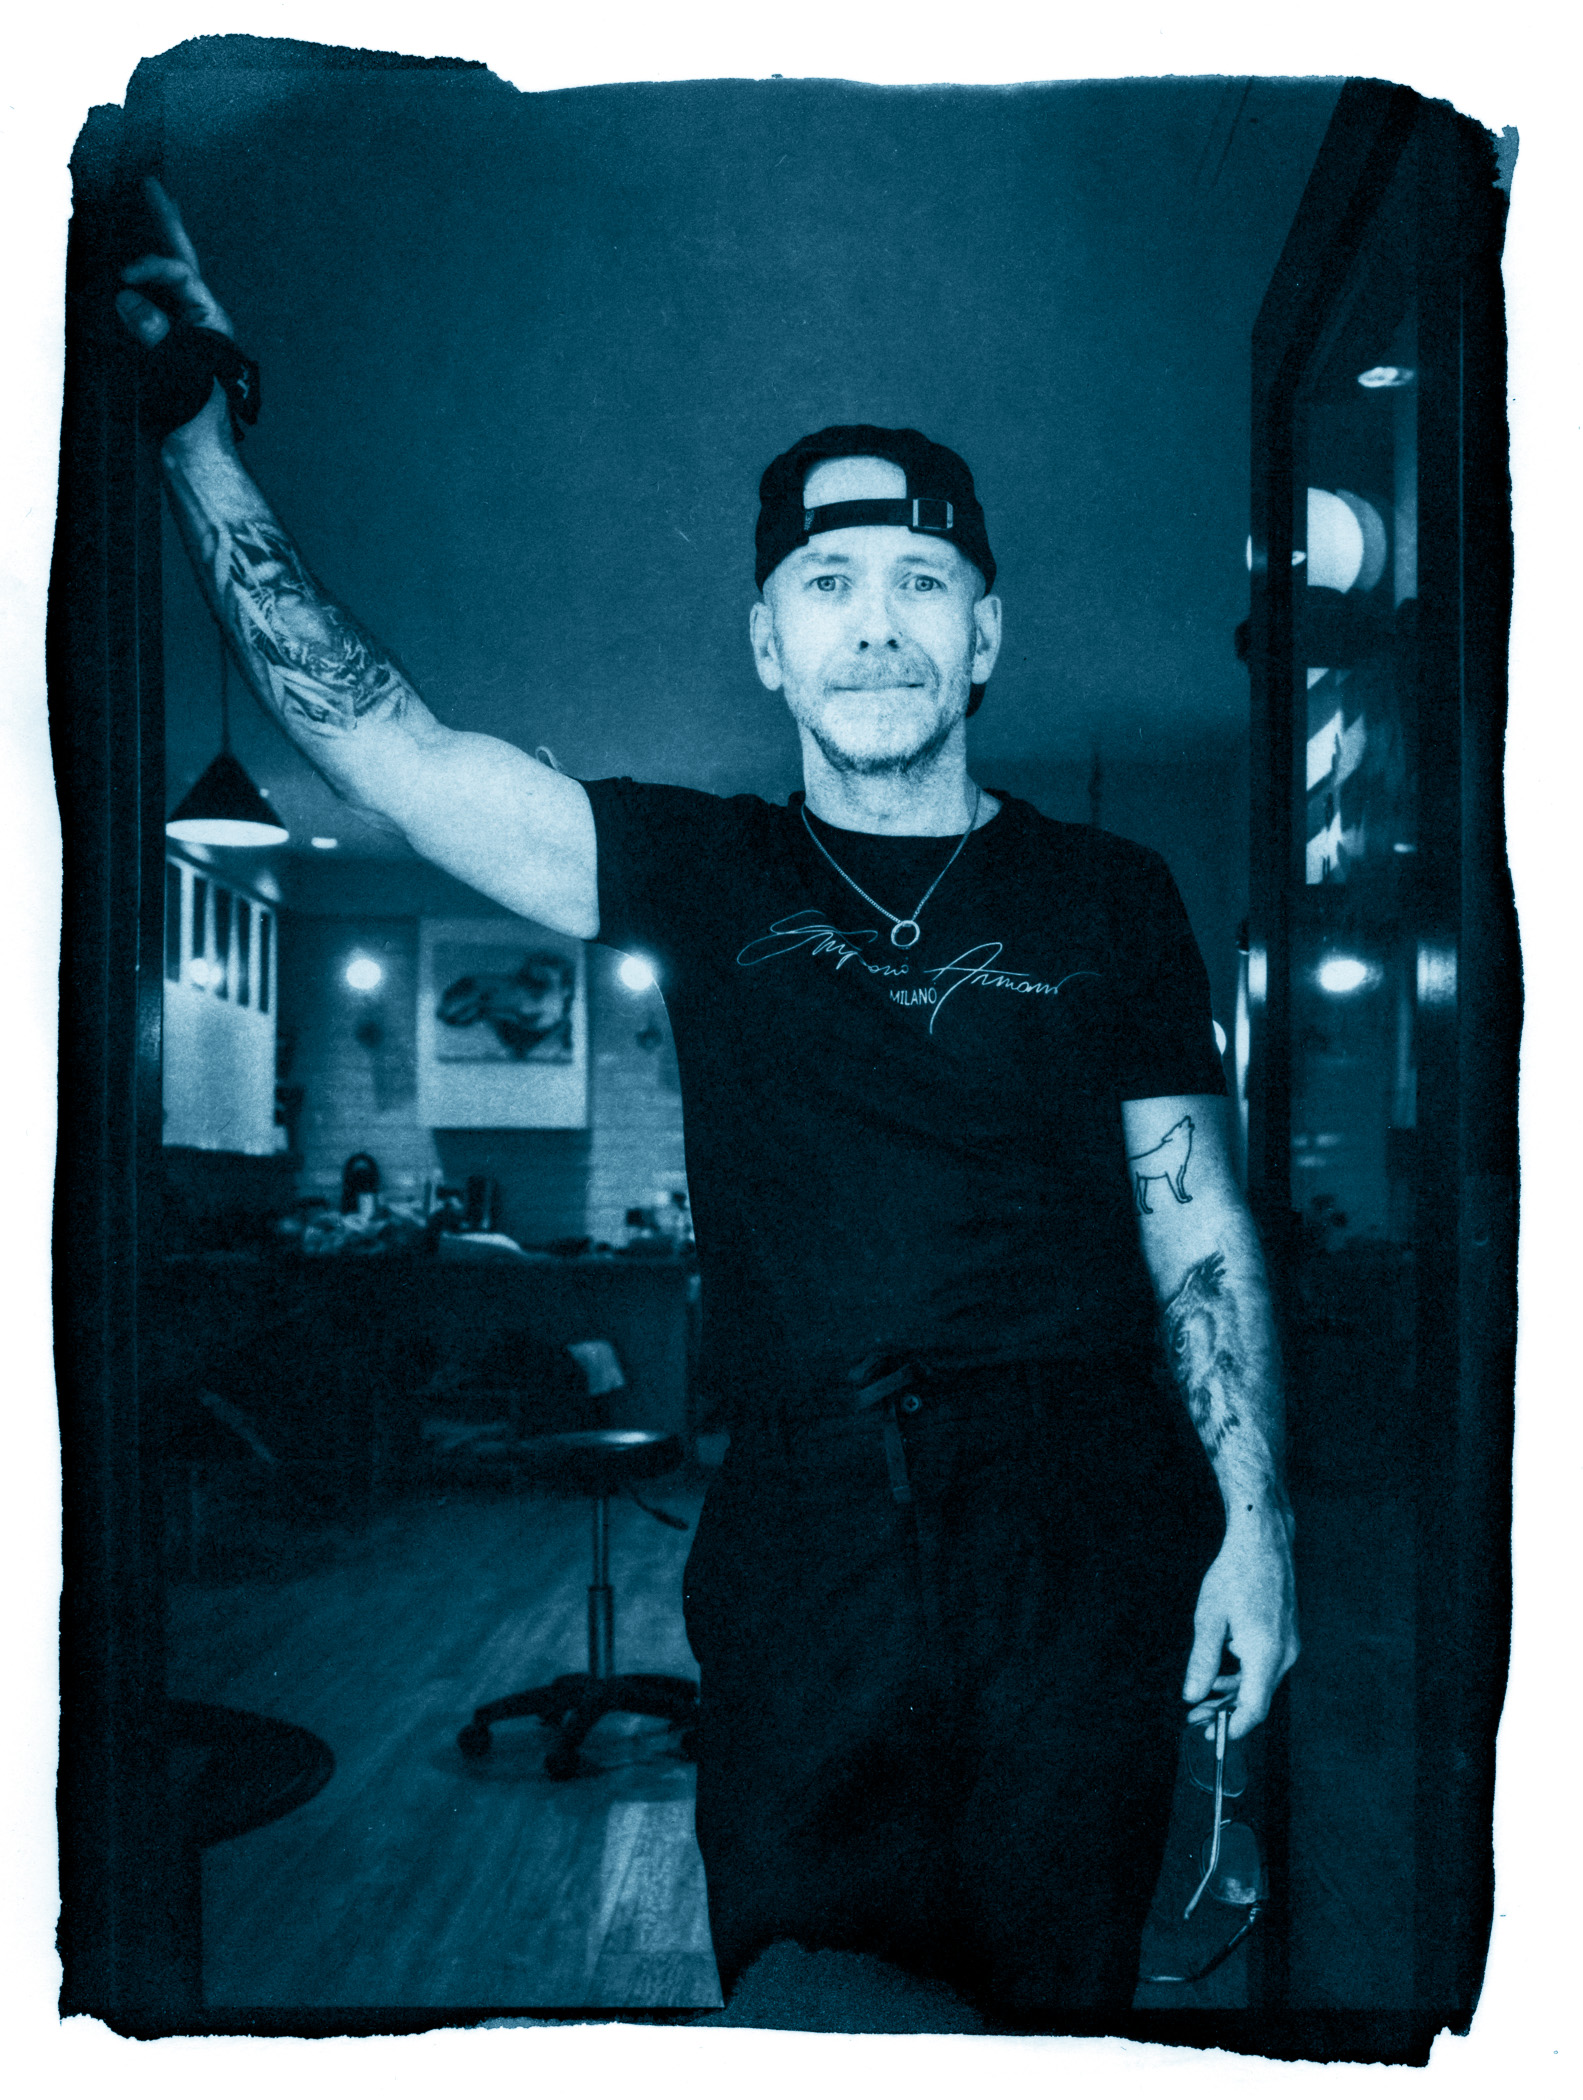
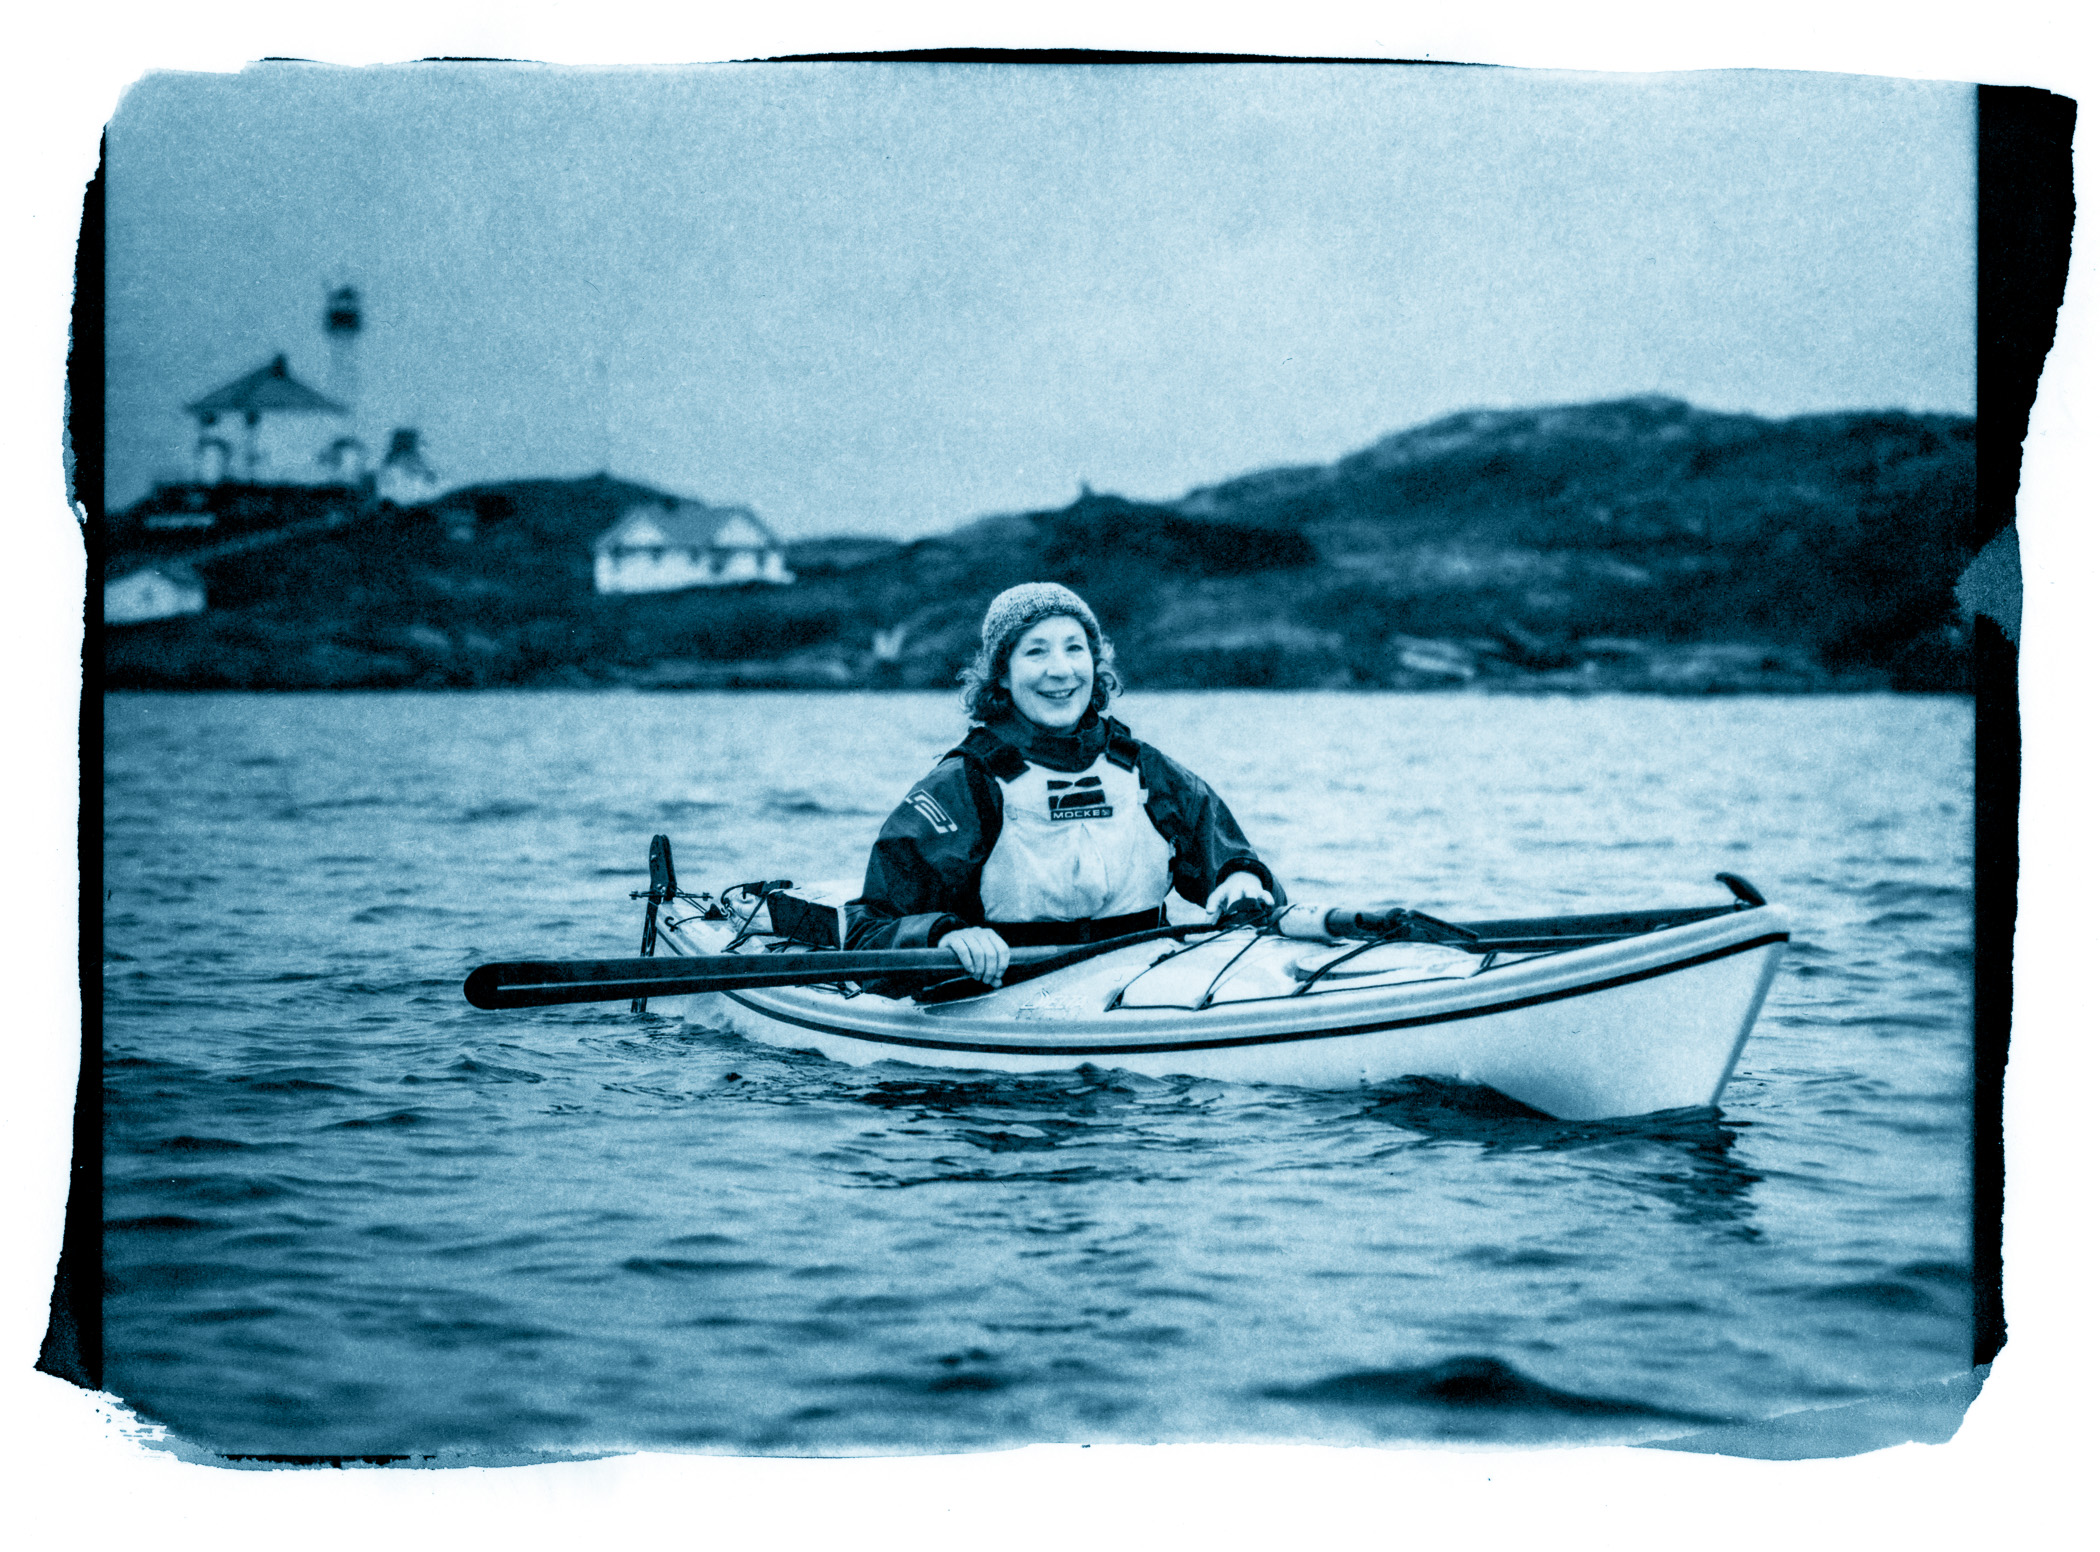
A note about this image: A very satisfying aspect of producing these contact prints is the ability to gift them to the subjects who I photograph. In this case, headshot subjects from a local non-profit organization.
During each session, I swapped out my GF80mm portrait lens for a Mamiya 110mm lens on the Fotodiox tilt+shift adapter. With about 5 degrees of tilt applied, I made a few exposures, with the intention of printing one as a cyanotype.
The resulting contact print, where the eyes are in focus, but focus drops off rapidly down the frame, produces a unique portrait. These are a few scans of the 5 x 7 inch prints made for each subject.
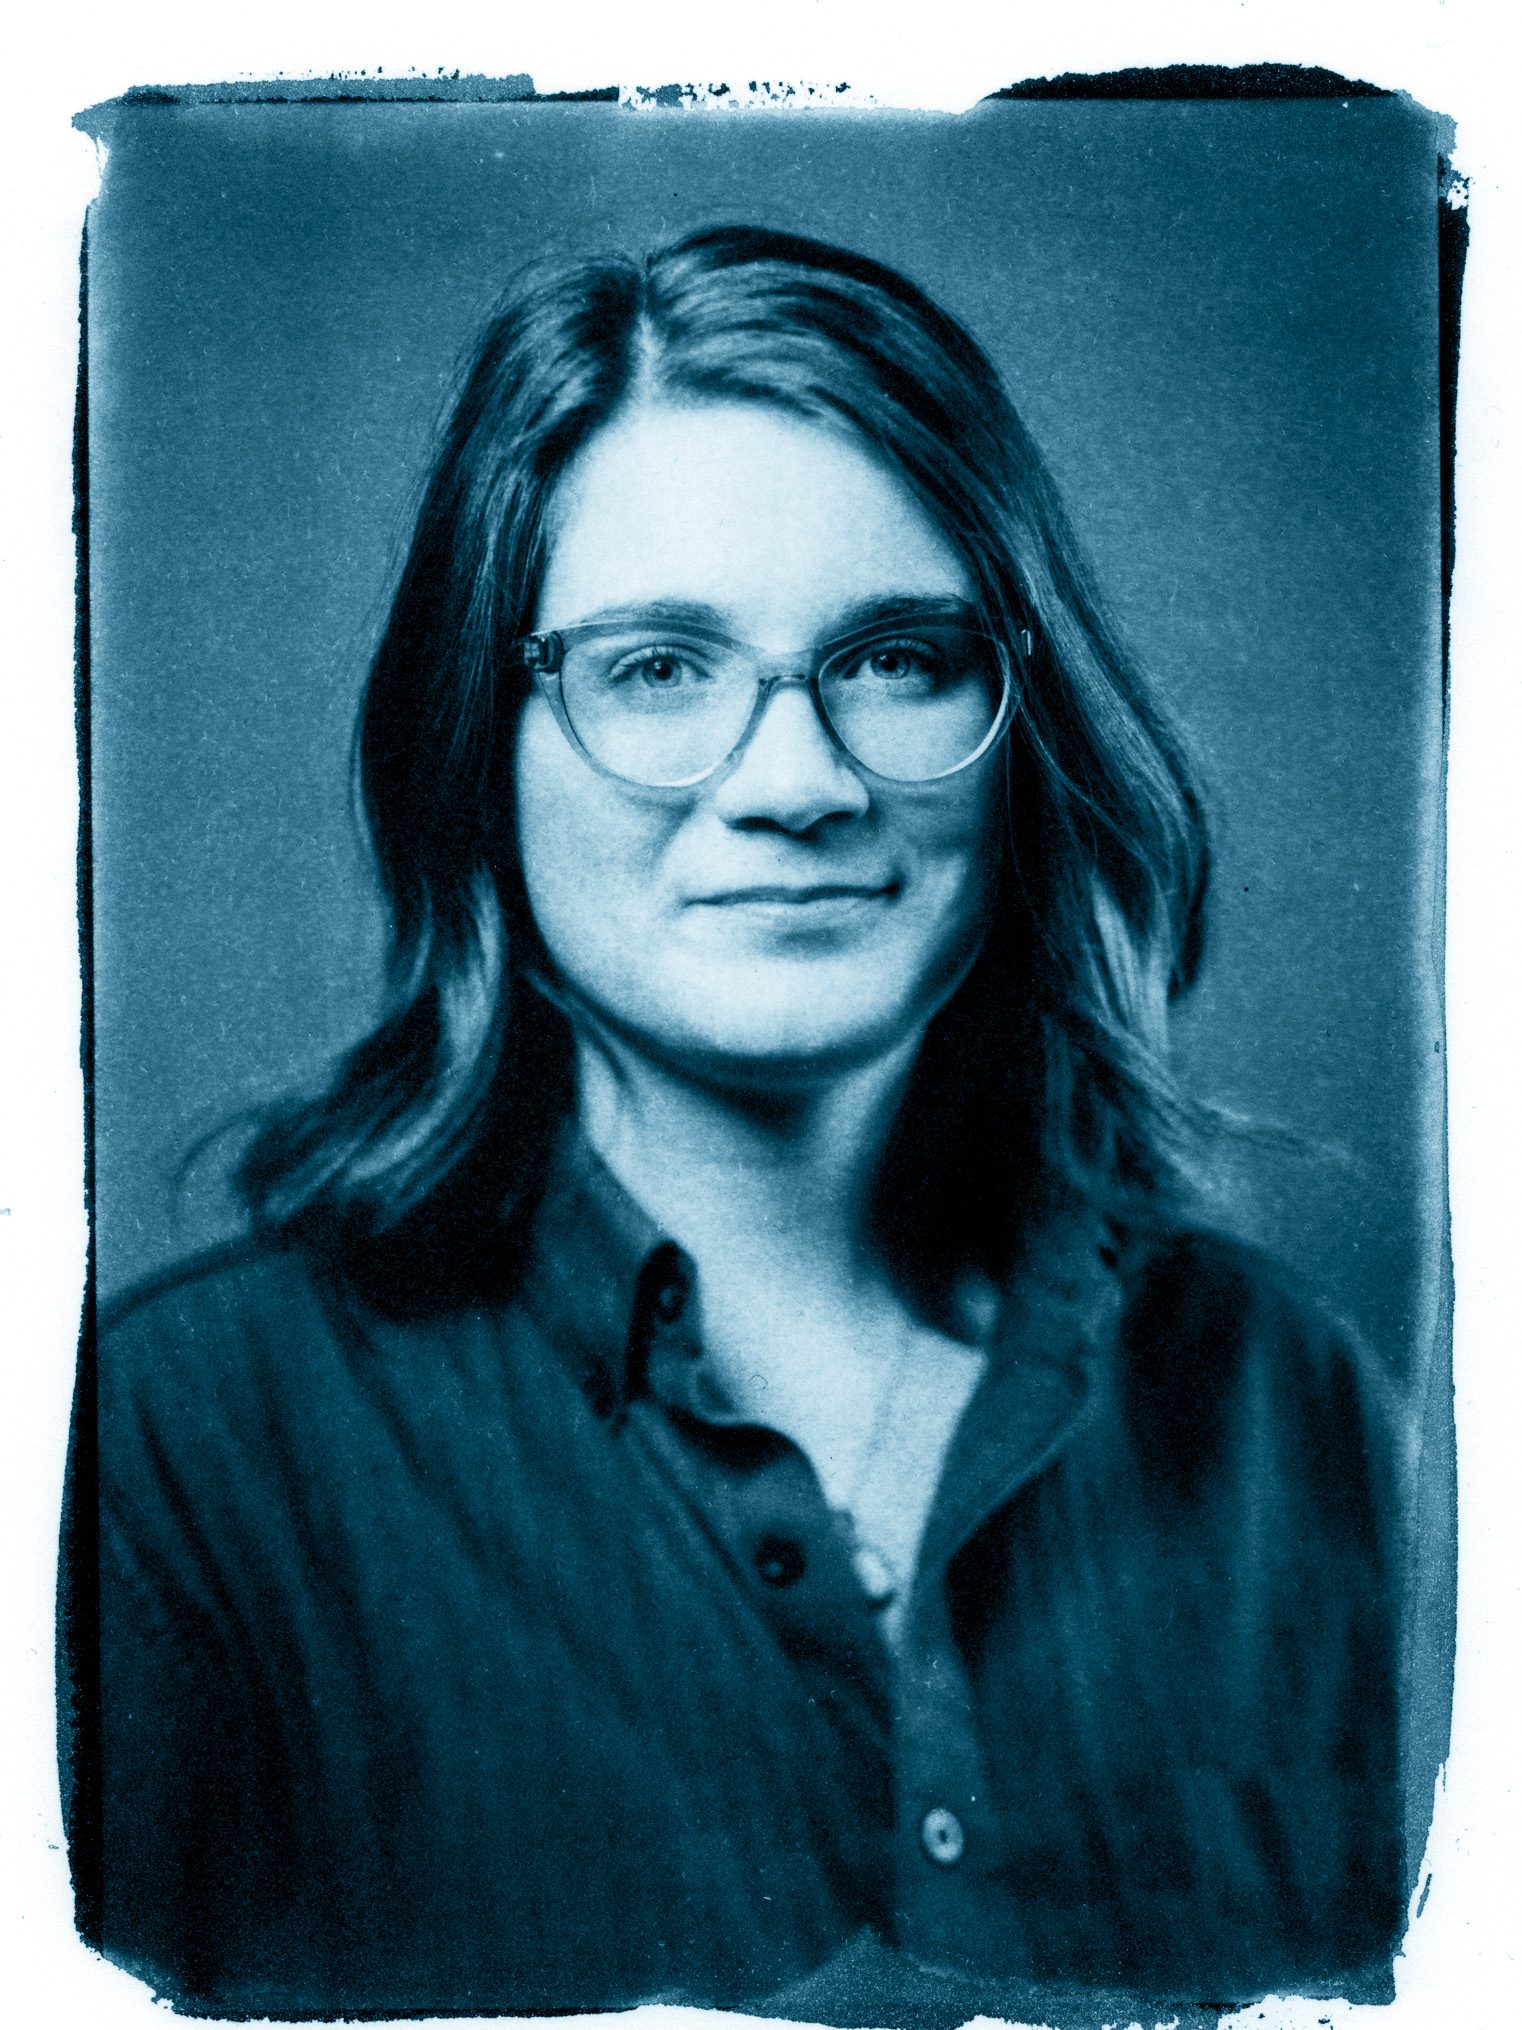
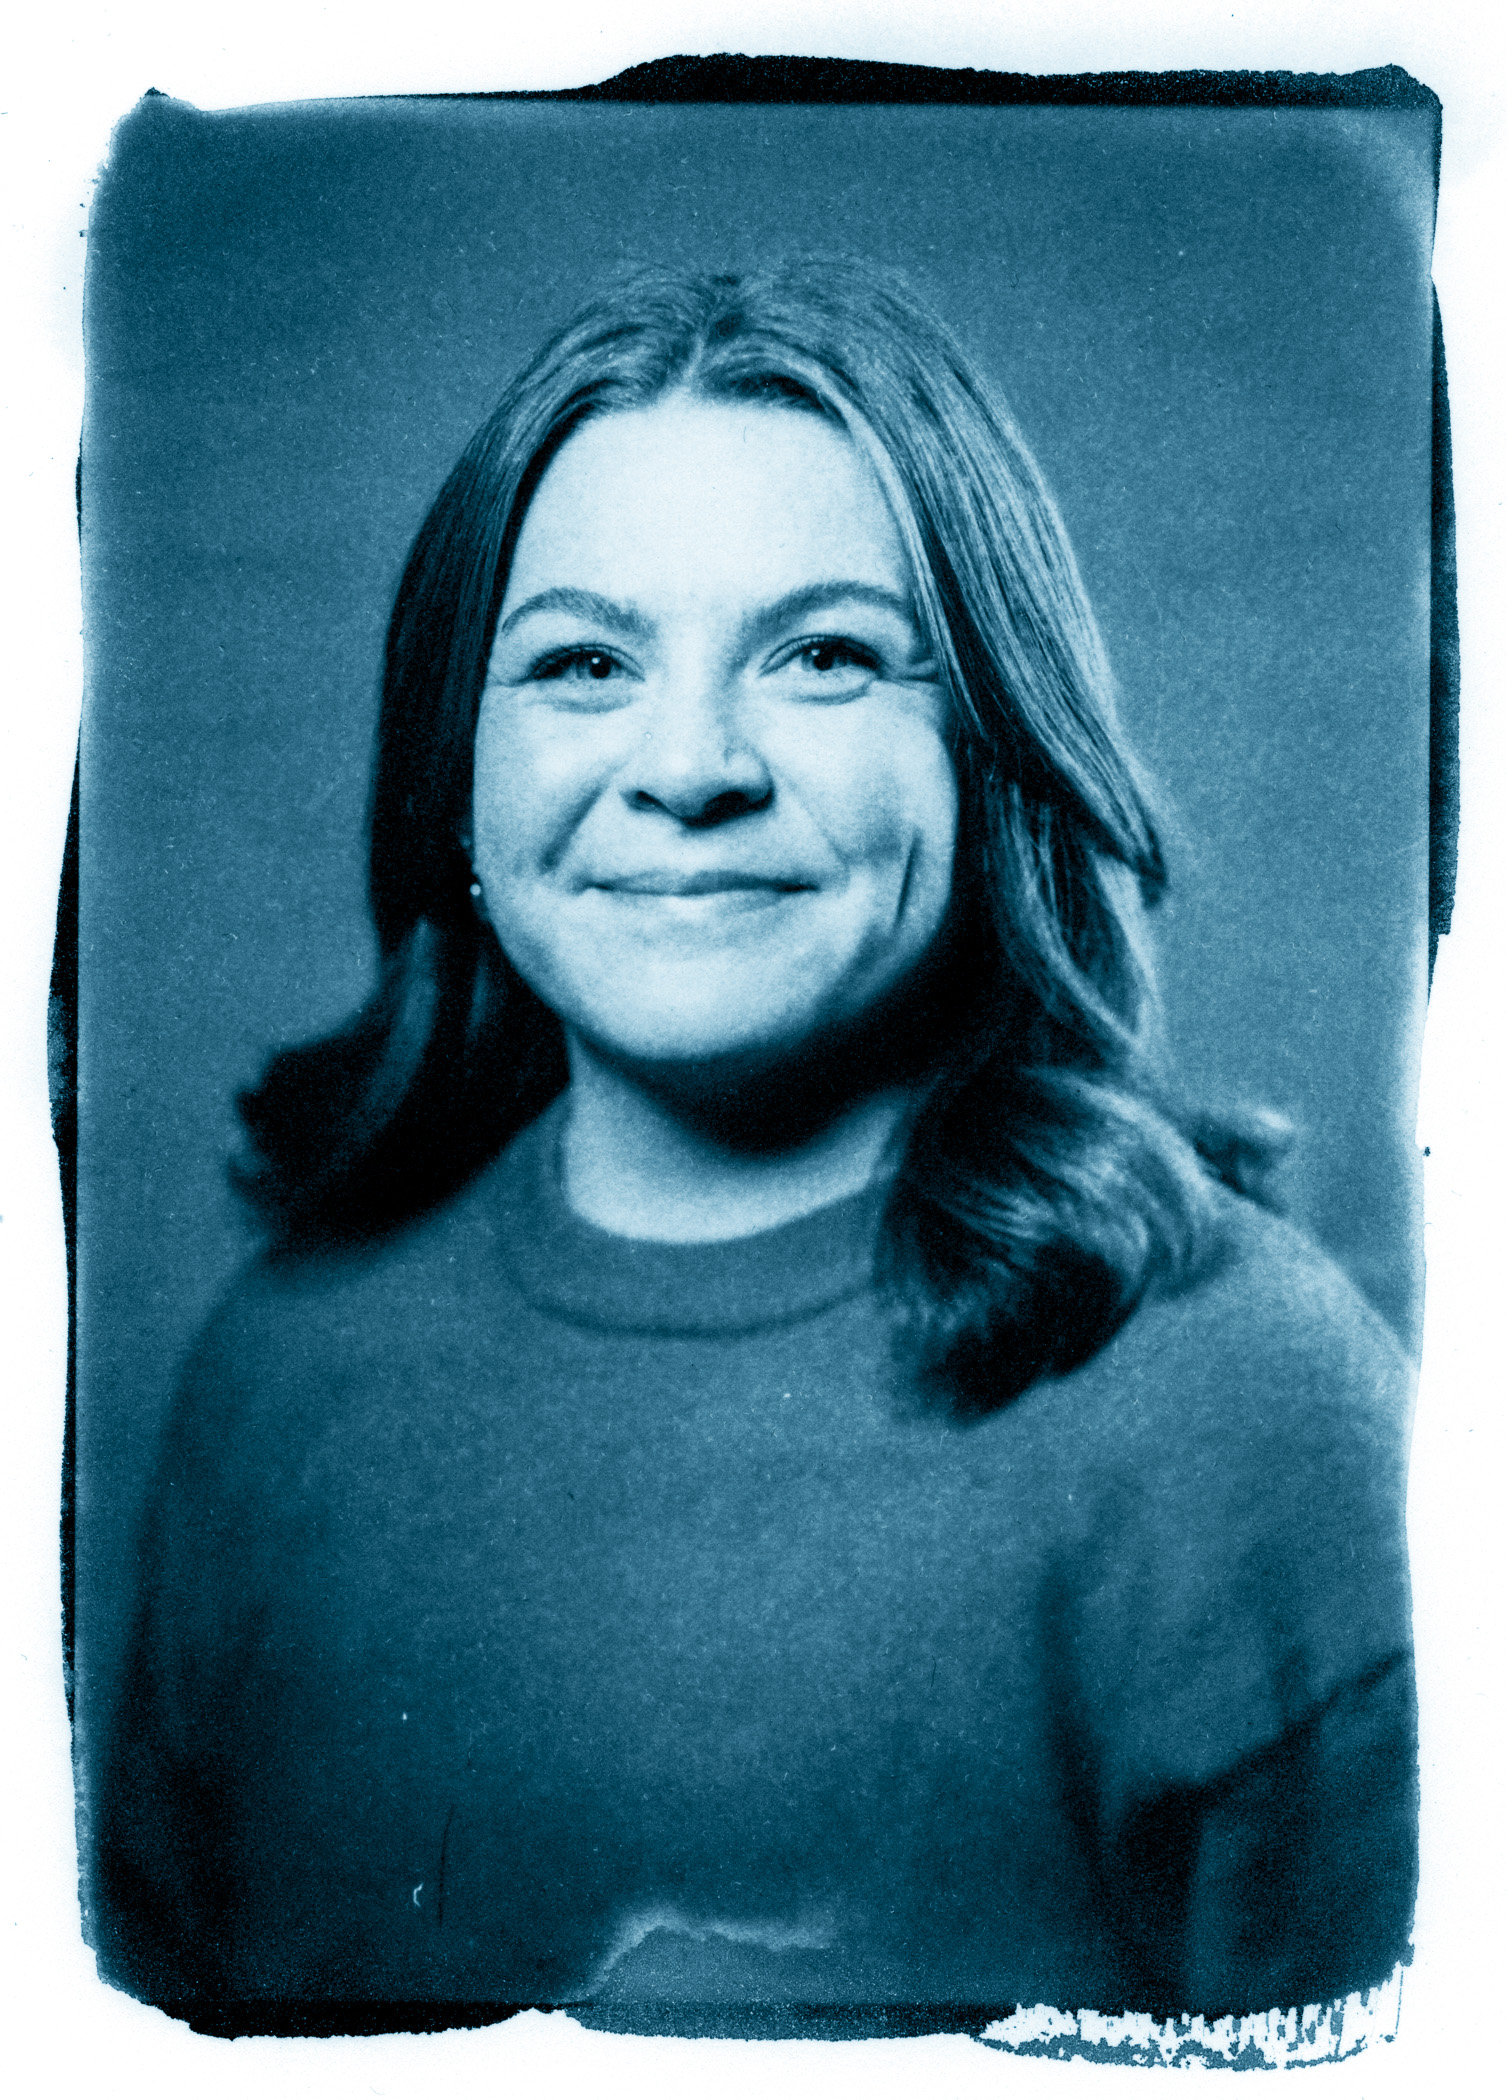

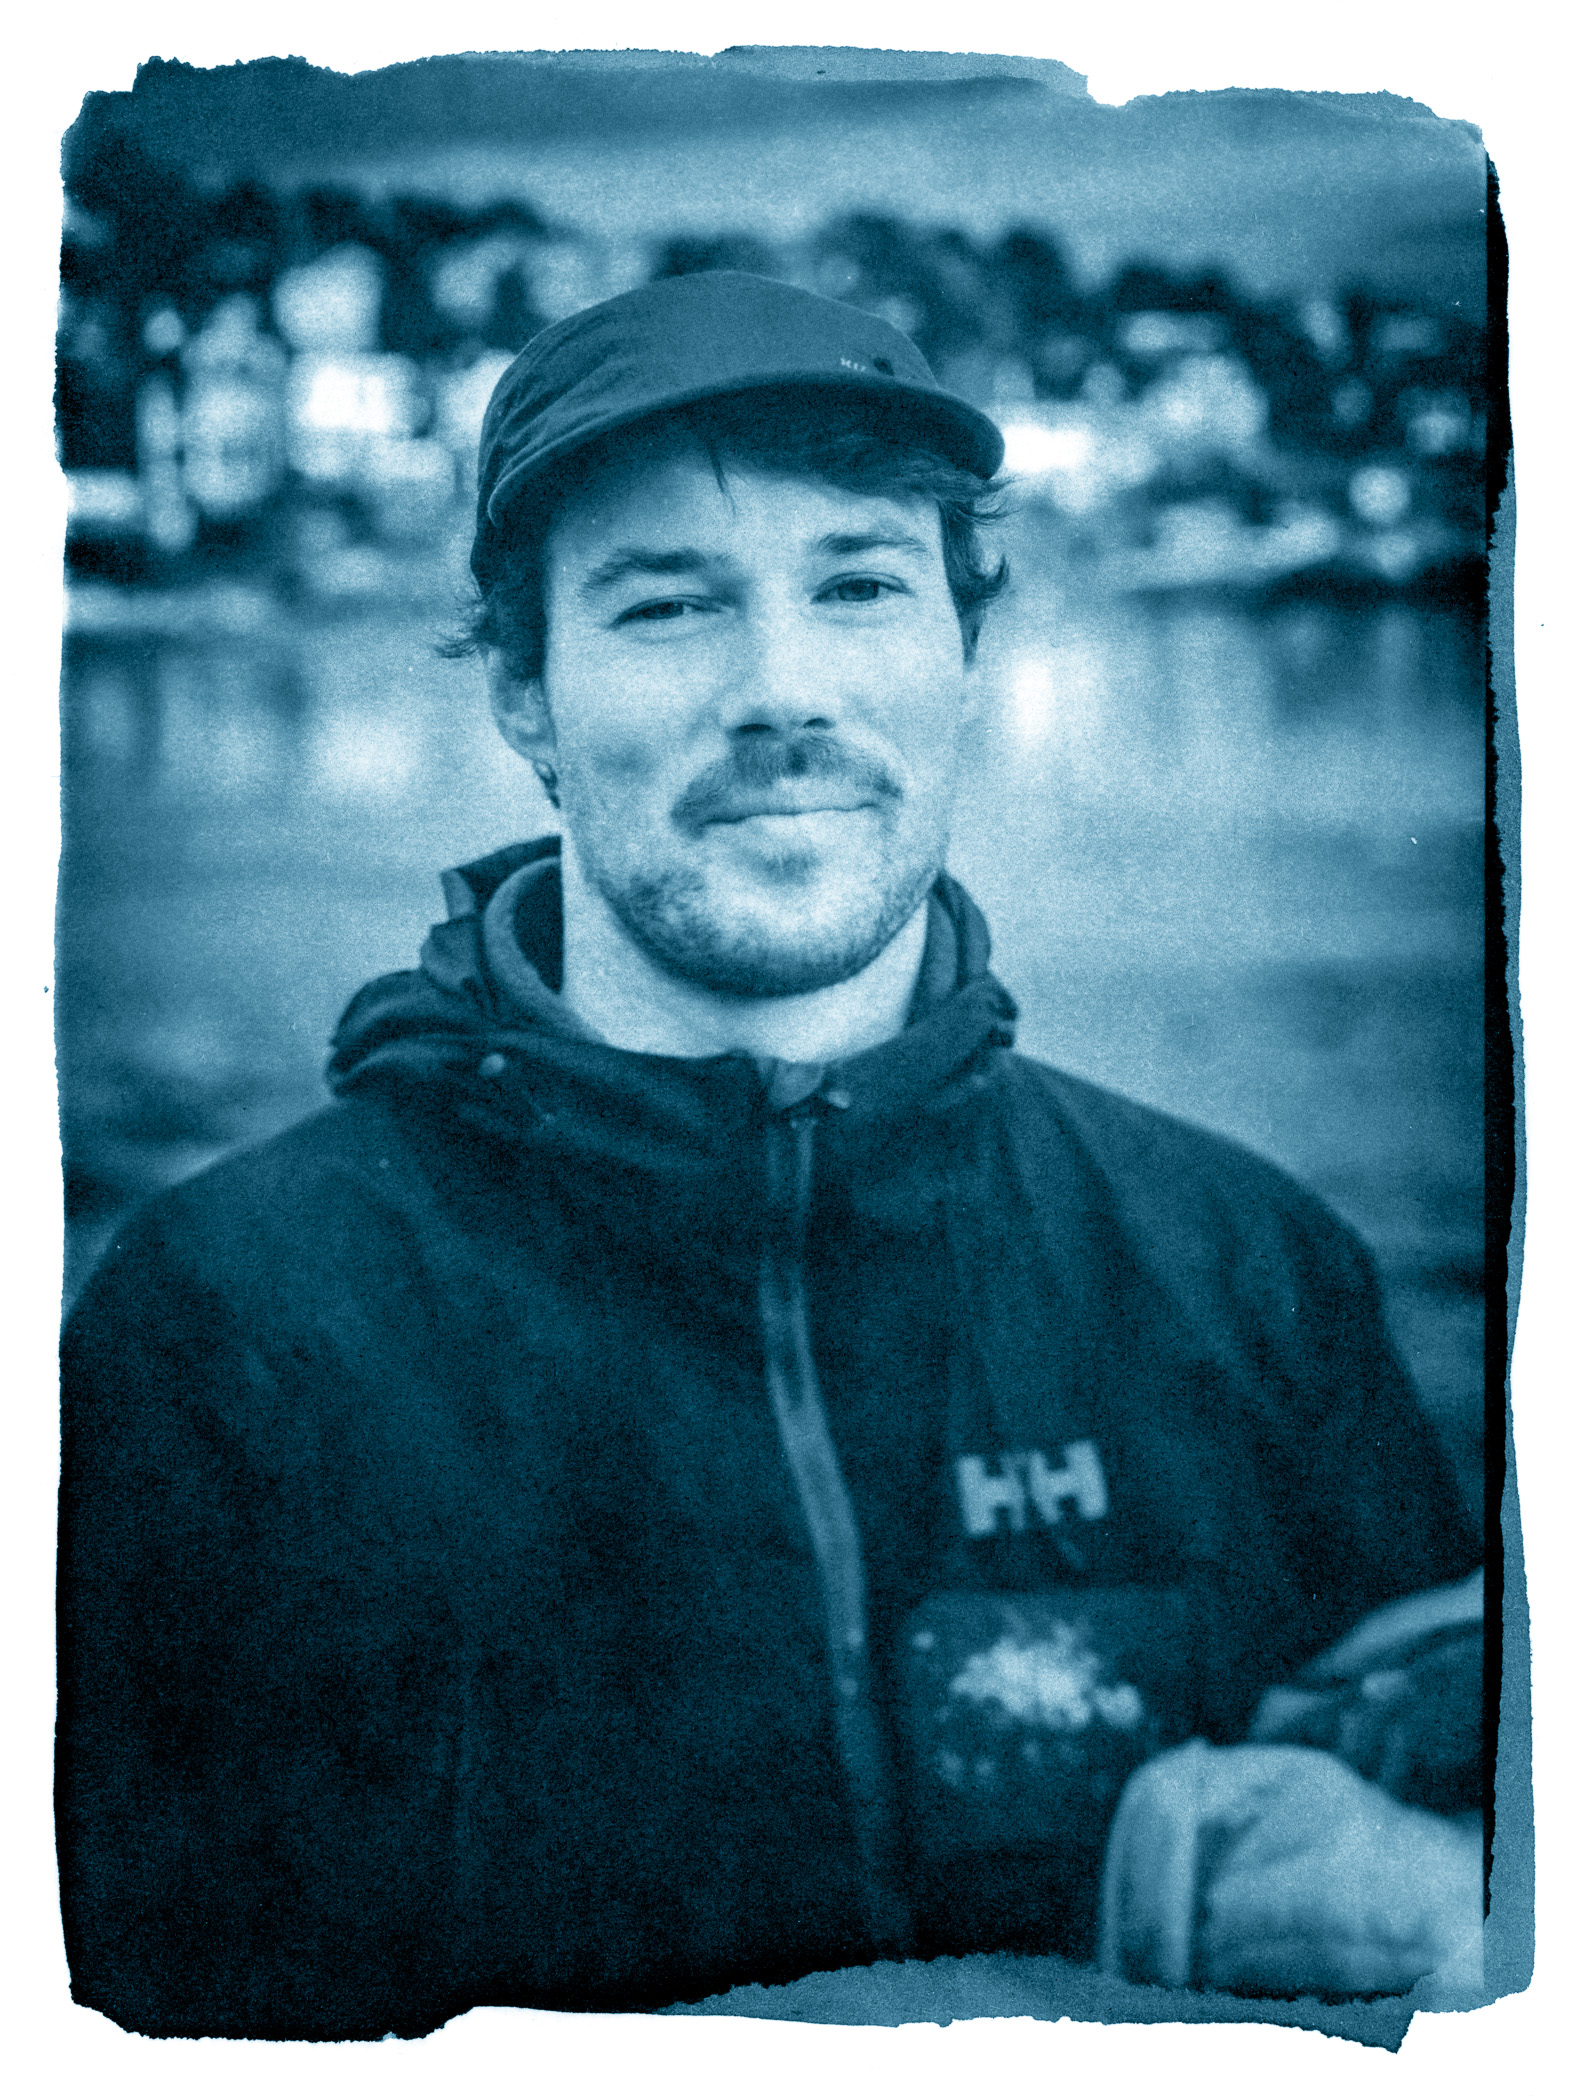
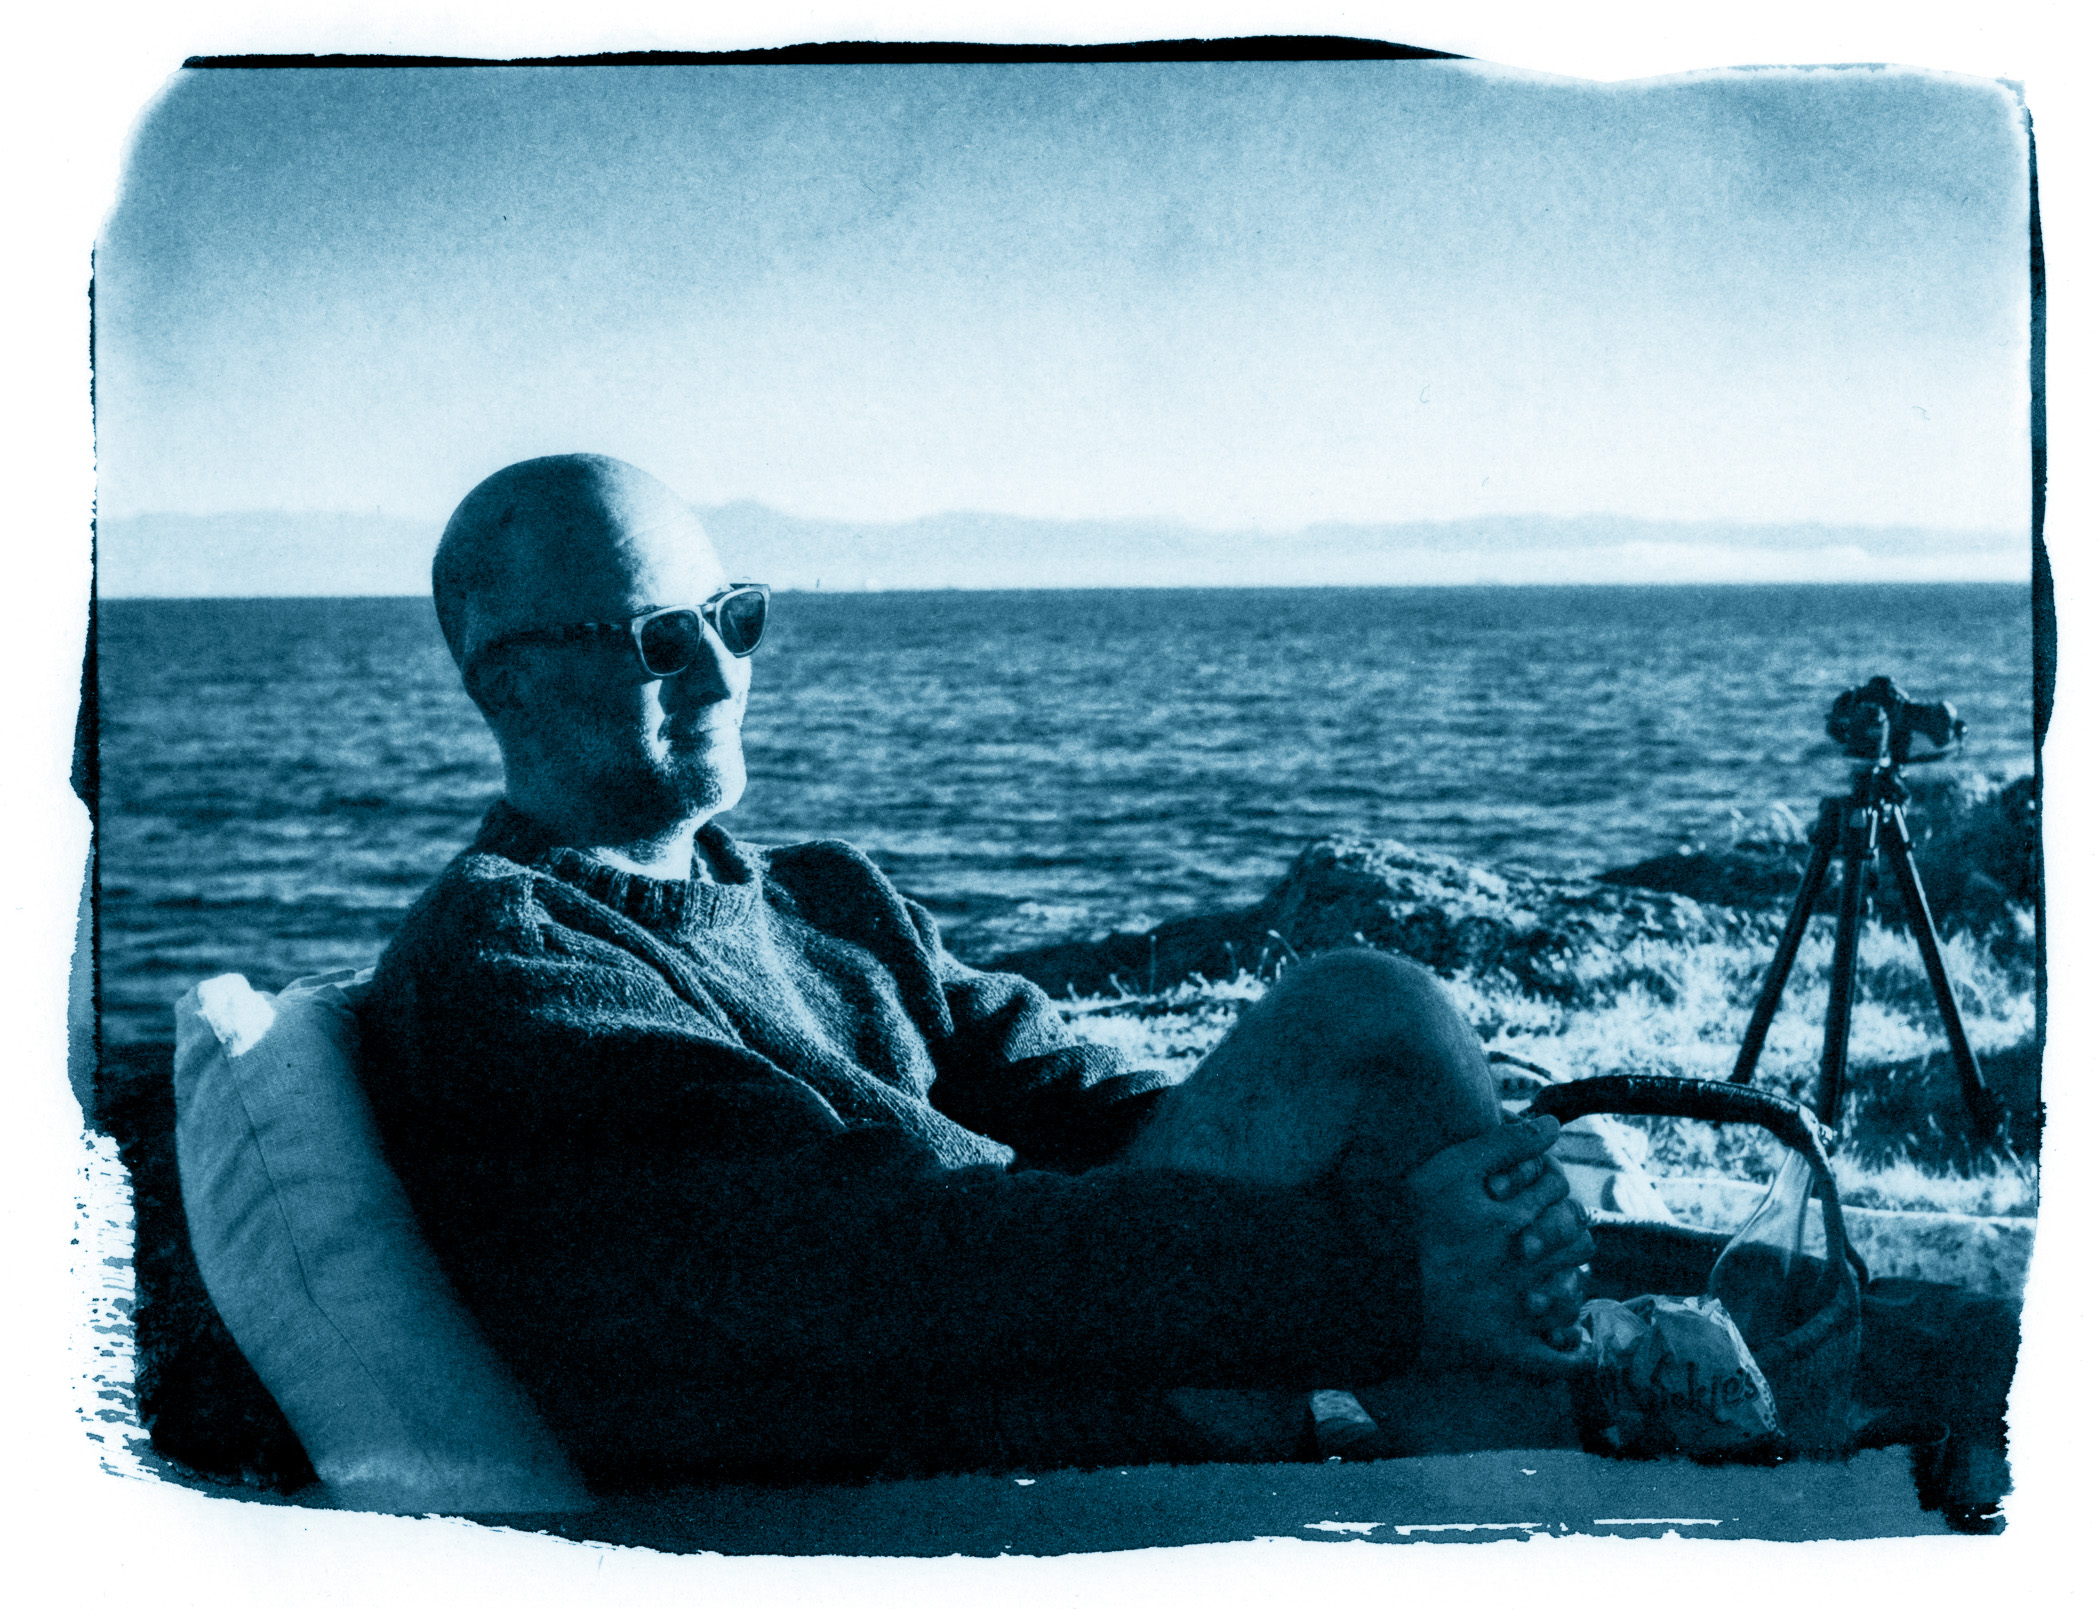
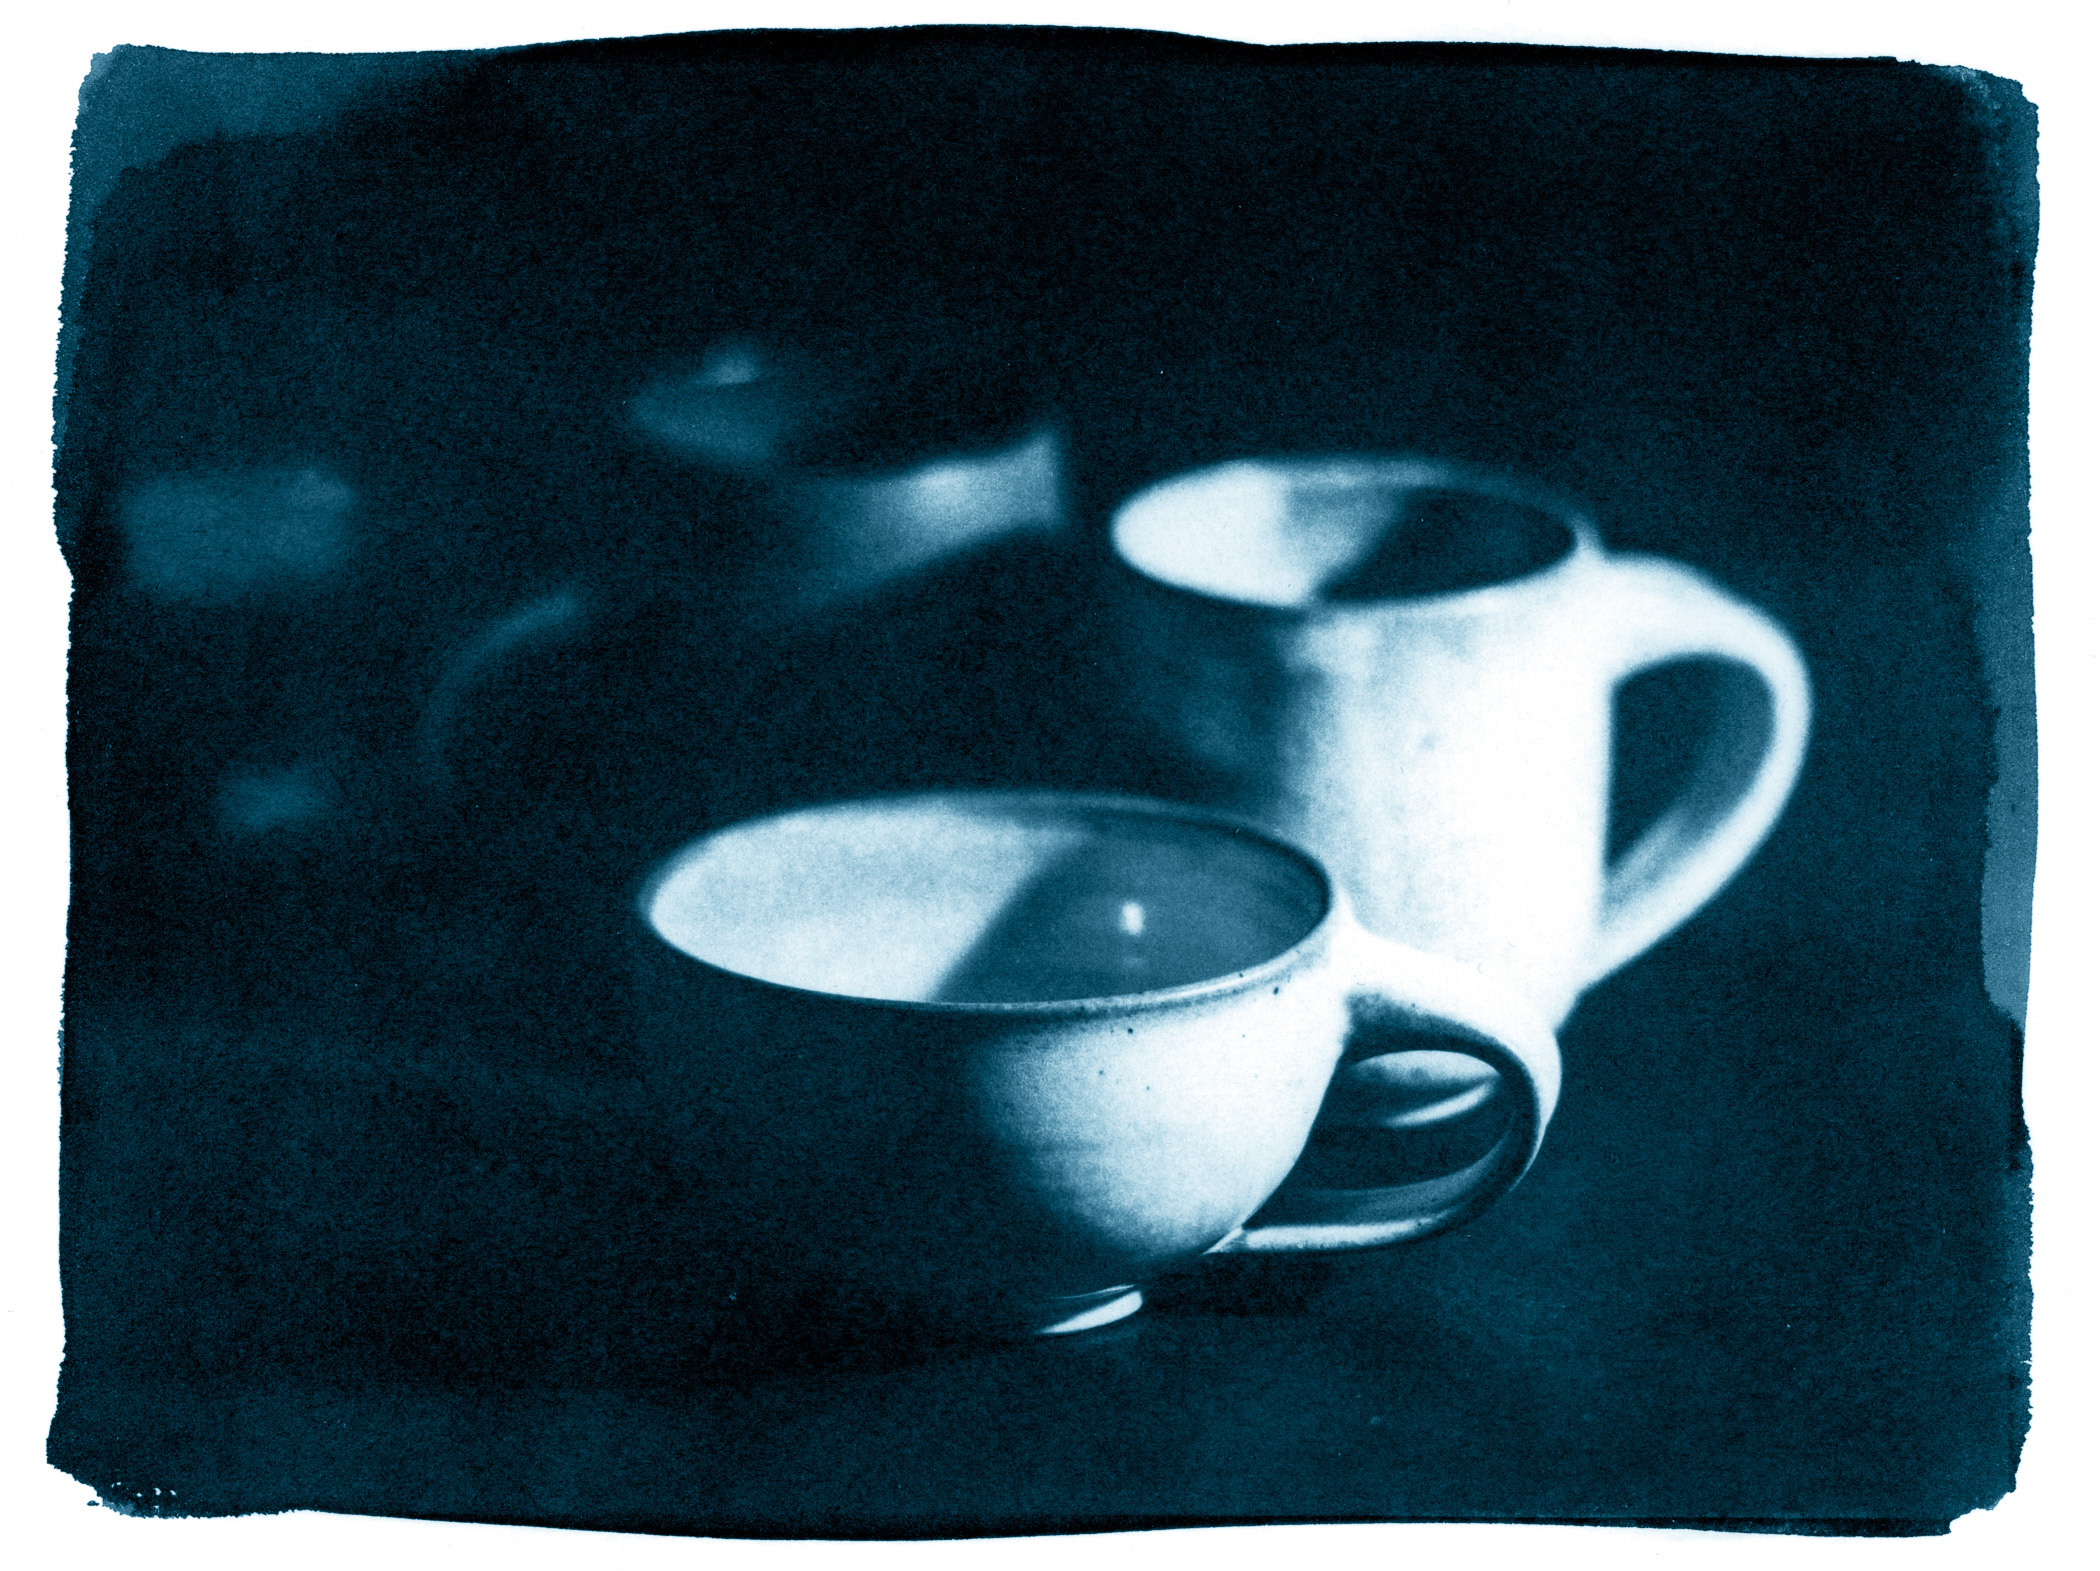
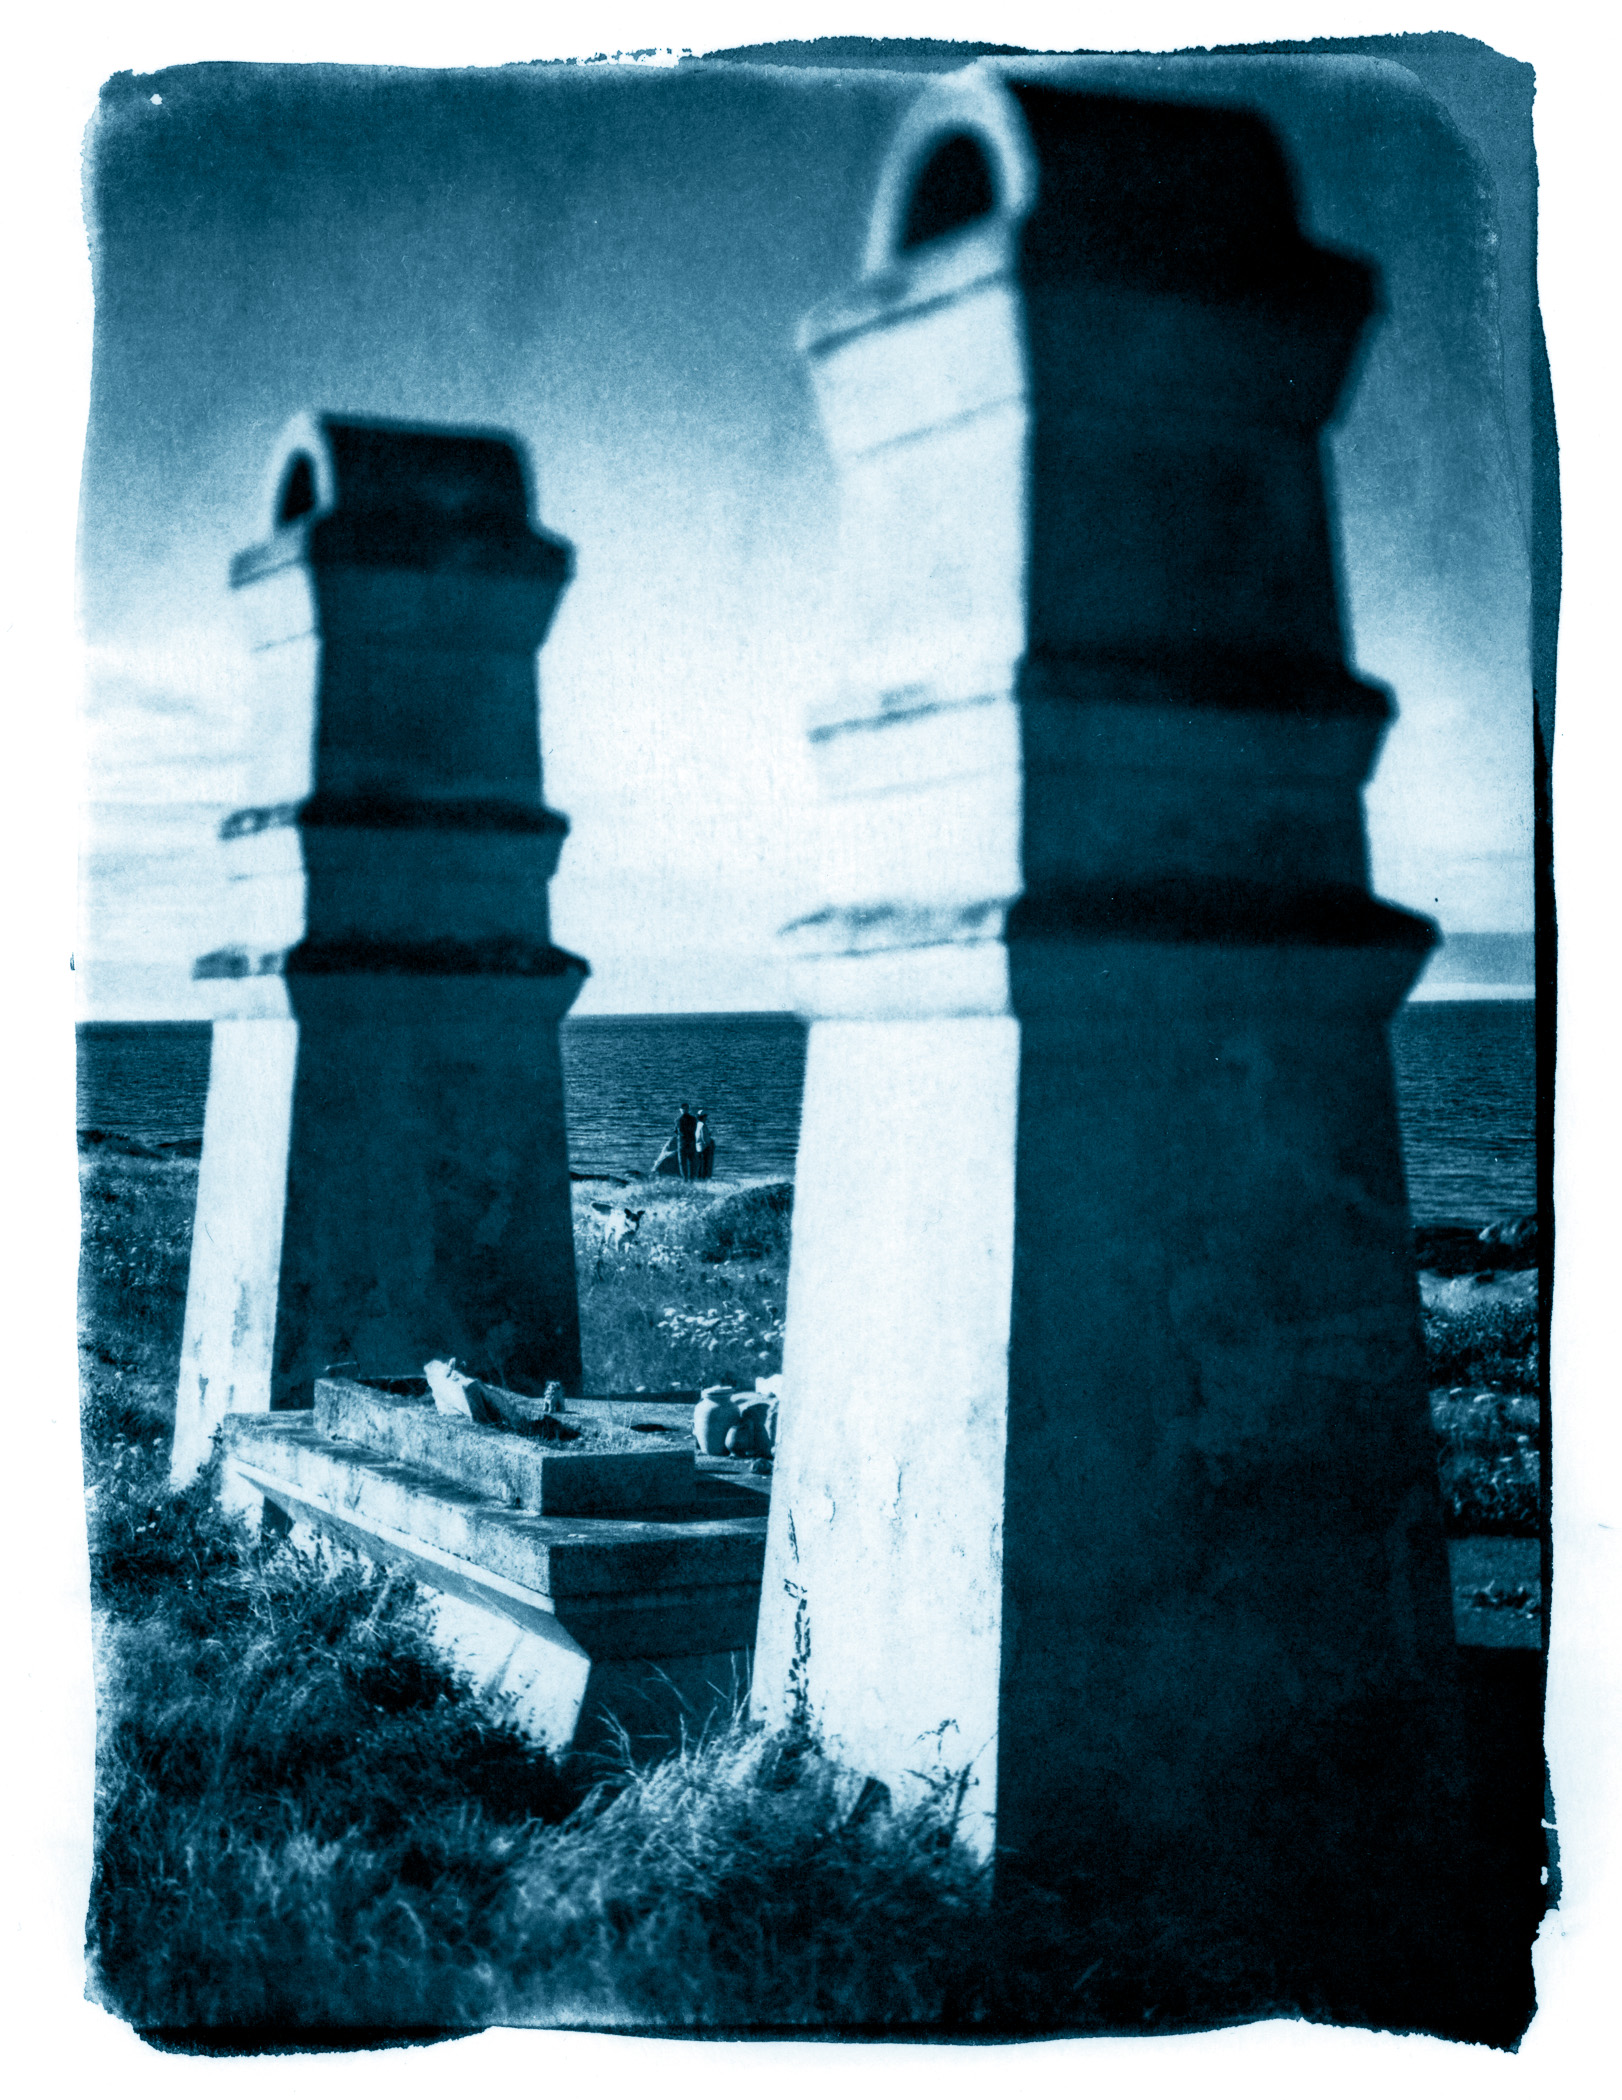
NB: All photos captured with a variety of Fujifilm cameras and lenses. The portrait process is described above.

4 responses to “Blue prints”
Nice work. I’ve been playing with cyanotypes for a long time, mostly photograms. I have tried working with digital negatives from photos, but not be very successful. Looking at your prints here, I’m inspired to go back and give photos another try.
Ian, I was moving in the right direction in making the digital negatives, as it was clear that the dynamic range of the cyanotype is much less than that which is available with the digital files. I was adjusting the tone curve on my negs, but reading Christina Z. Anderson’s book quickly got me nearly all of the way. She gives precise numbers for the tone curves needed for a printable cyanotype negative.
I experimented with cyanotypes and some forms of “art photography” when I shot film and had a 4X5 through which I made the negatives I used for the prints. Also looked into Palladium printing but never got around to it as work circumstances changed and it became all digital all the time, as well as losing a darkroom to work in.
A great thing about cyanotypes, is not needing a darkroom. I do work in dim light when preparing the emulsion, but no need for total darkness. Making negatives from digital files is also a bonus.